This effect is to create a a torn photo with Photoshop.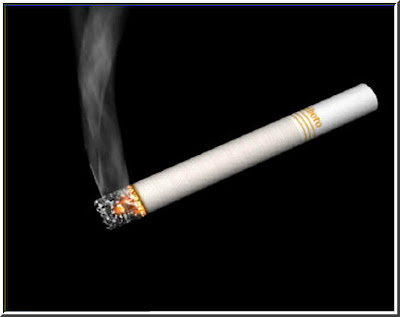 Step 1 : Open any image in Photoshop. I have opened this image.
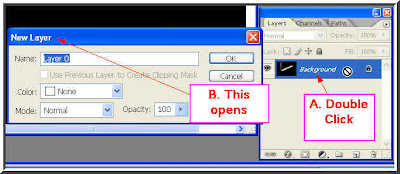 Step 2 : Double click the 'Background' in the Layers/Channels/Paths pallete (A), which will open the New Layer dialogue box (B) at left. Click ok on the New Layer dialogue box.
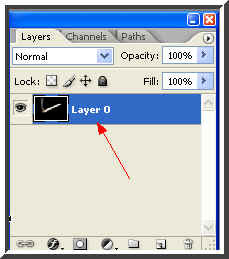 Step 3 : The Background layer changes to Layer o. It is now editable.
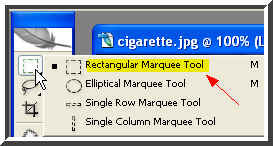 Step 4 : Click the Rectangular Marquee Tool
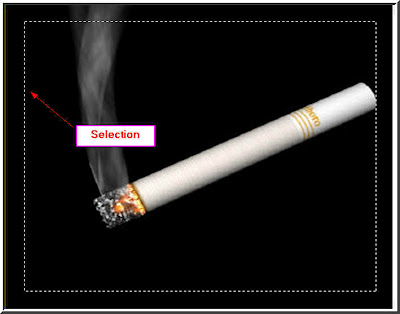 Step 5 : Draw a selection with the Rectangular Marquee Tool.
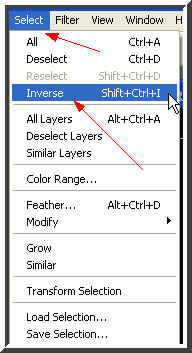 Step 6 : Go to Select>Inverse
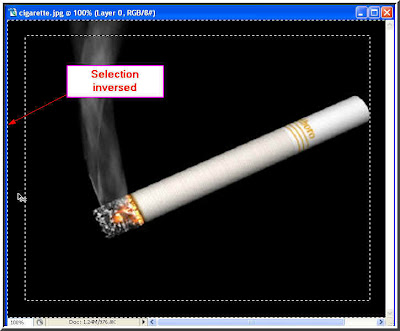 Step 7 : The selection has been inversed.
 Step 8 : Hit the delete key on the keyboard and the selected portion of the border is deleted.
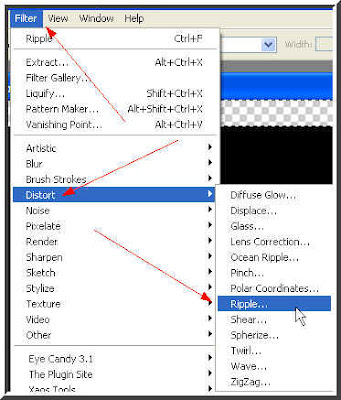 Step 9 : Go to Filter>Distort>Ripple
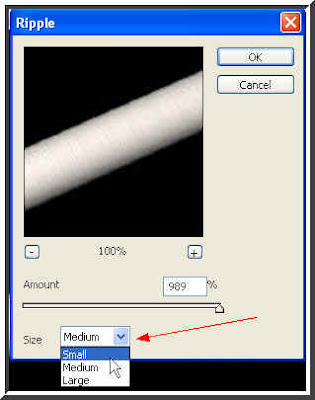 Step 10 : The Ripple dialogue box opens. Click where the red arrow points to and a drop down window will open. Select eighter small or medium from it. It will depend on your image. I have selected 'Small'. Click ok.
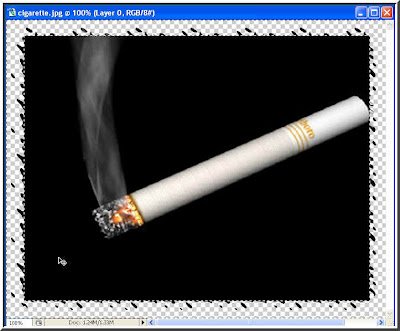 Step 11 : The border of the image now has a frayed look. Press CTRL+D to deselect the selection.
 Step 12 : Now click the Lasso Tool.
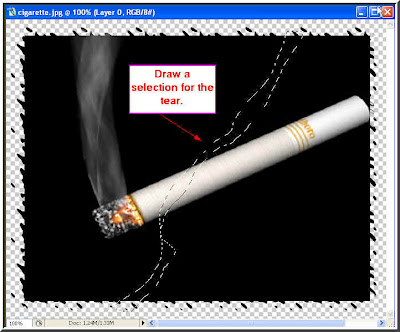 Step 12 : Draw a selection for the tear with the Lasso Tool. Then hit Delete. Then CTRL+D
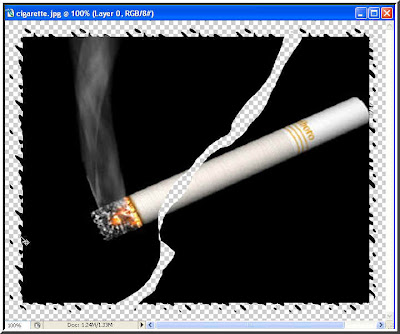 Step 13 : This is how the image looks.
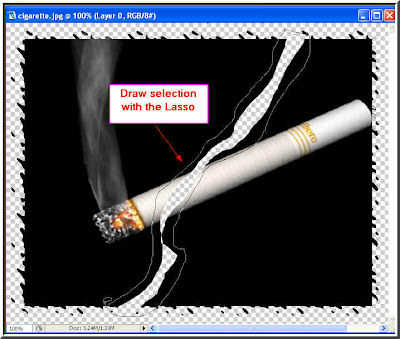 Step 14 : Draw a selection with the Lasso Tool outside the tear.
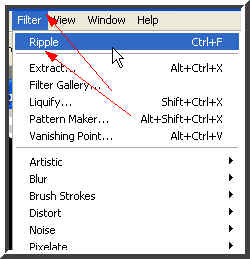 Step 15 : Go to Filter and you will find Ripple at the top now. Click it.
 Step 16 : This is how the image looks.
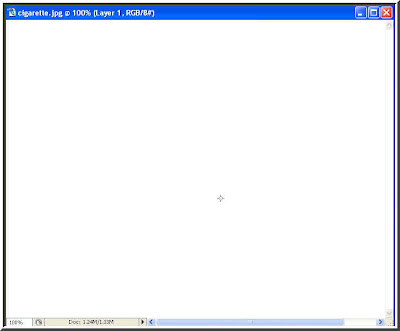 Step 17 : Open a new white layer and drag it over the image and completely cover it.
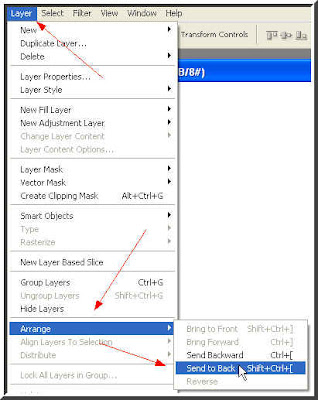 Step 18 : Go to Layer>Arrange>Send to Back.
 Step 19 : The white layer is now behind the image.
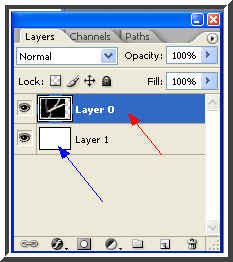 Step 20 : In the Layers/Channels/Paths pallette click on Layer o (blue arrow). Note that the new white layer is Layer 1 (red arrow).
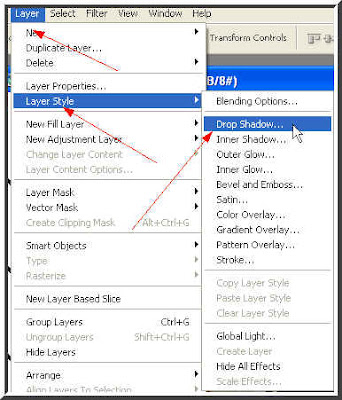 Step 21 : Go to Layer>Layer Style>Drop Shadow.
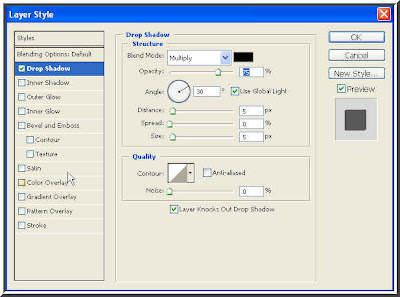 Step 22 : The Layer Style Drop Shadow Structure dialogue box opens.
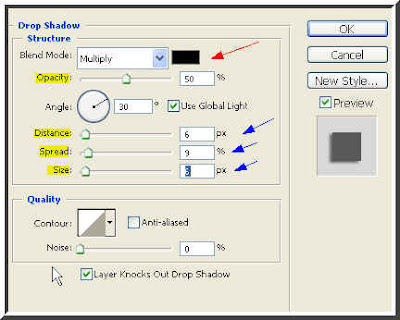 Step 23 : Drag the Distance, Spread and Sliders a little to the right and then reduce the Opacity slider (blue arrow) to 50 %. Click ok.
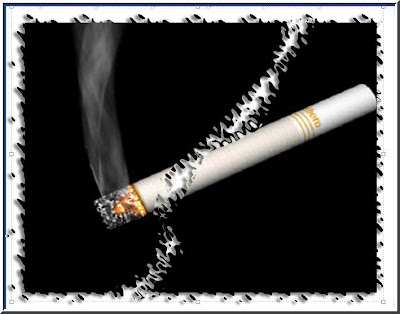 This is the torn photo.
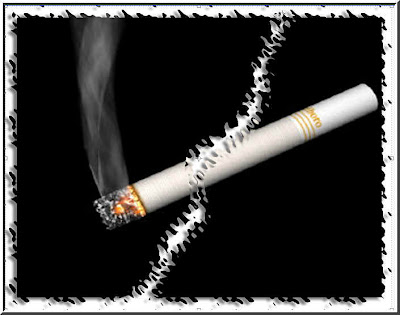 The same effect, but with Medium chosen in Step 11. That is all.
Step 1 : Open any image in Photoshop. I have opened this image. Step 2 : Double click the 'Background' in the Layers/Channels/Paths pallete (A), which will open the New Layer dialogue box (B) at left. Click ok on the New Layer dialogue box.Step 3 : The Background layer changes to Layer o. It is now editable.Step 4 : Click the Rectangular Marquee ToolStep 5 : Draw a selection with the Rectangular Marquee Tool.Step 6 : Go to Select>InverseStep 7 : The selection has been inversed.Step 8 : Hit the delete key on the keyboard and the selected portion of the border is deleted.Step 9 : Go to Filter>Distort>RippleStep 10 : The Ripple dialogue box opens. Click where the red arrow points to and a drop down window will open. Select eighter small or medium from it. It will depend on your image. I have selected 'Small'. Click ok.Step 11 : The border of the image now has a frayed look. Press CTRL+D to deselect the selection.Step 12 : Now click the Lasso Tool.Step 12 : Draw a selection for the tear with the Lasso Tool. Then hit Delete. Then CTRL+DStep 13 : This is how the image looks.Step 14 : Draw a selection with the Lasso Tool outside the tear.Step 15 : Go to Filter and you will find Ripple at the top now. Click it.Step 16 : This is how the image looks.Step 17 : Open a new white layer and drag it over the image and completely cover it.Step 18 : Go to Layer>Arrange>Send to Back.Step 19 : The white layer is now behind the image. Step 20 : In the Layers/Channels/Paths pallette click on Layer o (blue arrow). Note that the new white layer is Layer 1 (red arrow).Step 21 : Go to Layer>Layer Style>Drop Shadow.Step 22 : The Layer Style Drop Shadow Structure dialogue box opens.Step 23 : Drag the Distance, Spread and Sliders a little to the right and then reduce the Opacity slider (blue arrow) to 50 %. Click ok.This is the torn photo.The same effect, but with Medium chosen in Step 11. That is all.
No comments:
Post a Comment