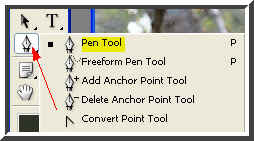
 Step 2 : You can use either the Pen Tool or the Magnetic Lasso to make a selection.
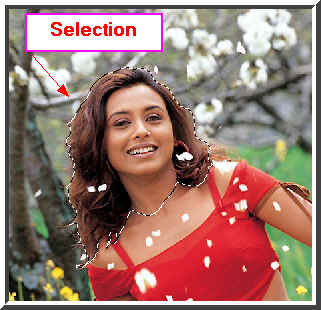
Step 3 : I have made the selection using the Pen Tool because you can very precise with it.

Step 4 : Now I have begun dragging the head from the bottom picture to the top one.
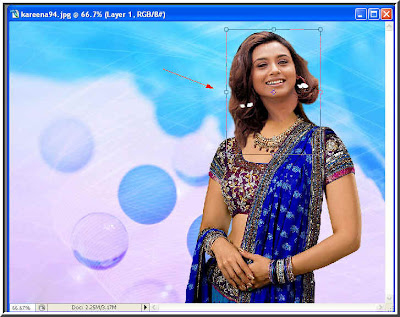
Step 5 : I have roughly positioned the head on the other image.
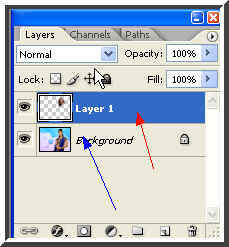
Step 6 : Note that Layer 1 (red arrow) is the head and Backround (blue arrow) is the image on which the head has been dragged to.
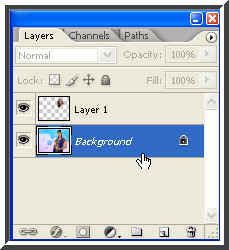
Step 7 : Click on the Background layer to select it.

Step 8 : Click the Clone Stamp Tool to select it.
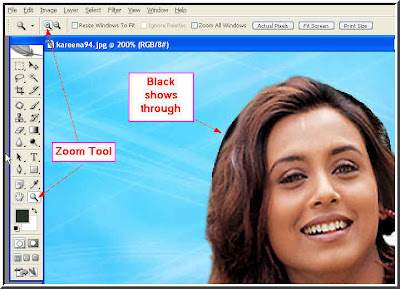
Step 9 : Click on the Zoom Tool and zoom into the image. Notice that some of the black of the picture at the bottom is visible.

Step 10 : Click the Clone Stamp Tool to select is.

Step 11 : You can make the Clone Stamp Tool large or small using the bracket keys on your keyboard. Use this ] to make the tool tip bigger and this [ to make it smaller.
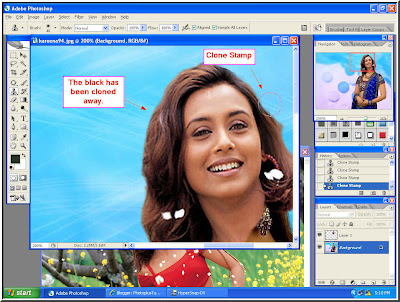
Step 12 : Note that black has been cloned away. ALT+CLICK to select the area from which to clone. Here I have used the blue in the background to clone away the black hair showing behind.Notice that I have also decreased the tool tip as I work on the left of the image.
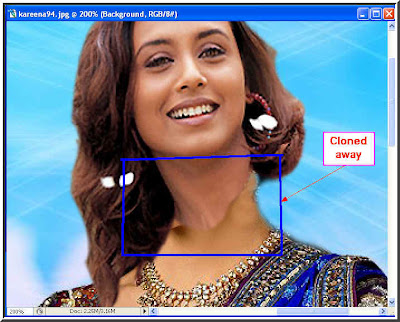
Step 13 : The area at the right of the neck has been cloned away. But look at the area bounded by the blue square. Notice that the neck does not match the neck on the one below.
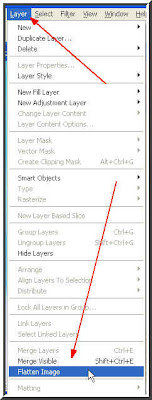
Step 14 : To fix the problem go to Layer>Flatten Image.
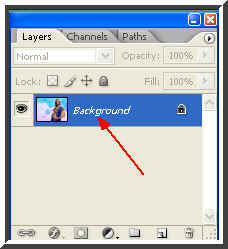
Step 15 : Notice after flattening the image there is only one layer i.e. the Background.
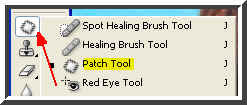
Step 16 : There is a new tool in Photoshop CS 2 called the Patch Tool. Click to select it.
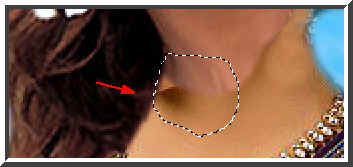
Step 17 : I have drawn a selection with the Patch Tool. Now place the Patch Tool inside the selection and drag down or up or sideways. Here I will drag it downwards.
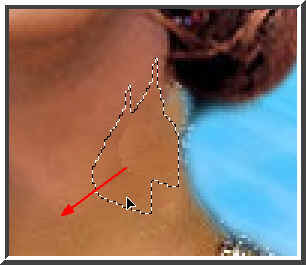
Step 18 : Place the Patch Tool in the middle of the selection and drag down.
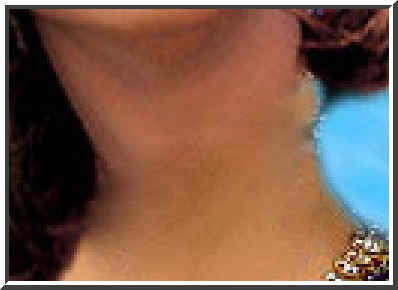
Step 19 : Note that the neck area has blended seamlesly. But the right side has to be fixed. CLick the Clone Stamp Tool.
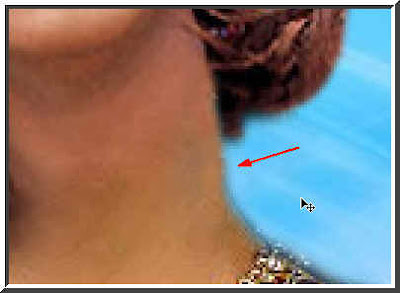 Step 20 : ALT+Click with the Clone Stamp Tool and the disfiguration at the left is cloned away. But the hair still preents a problem. Turn to the Clone Stamp Tool again.
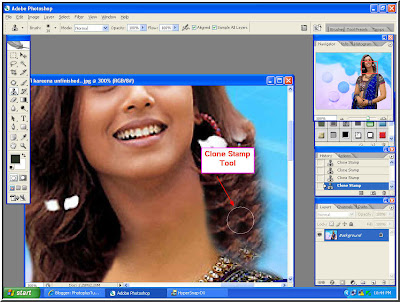
Step 21 : Now I have used the Clone Tool on the hair by pressing ALT+Click.

And, here is the finished image. Easy was it not?


No comments:
Post a Comment