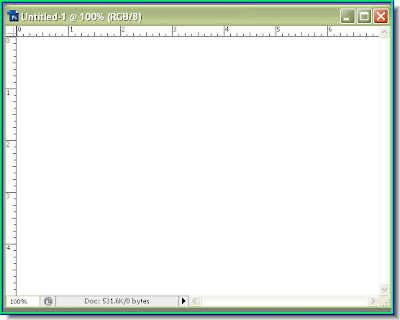
Step 1 : Open a new white layer.
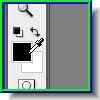
Step 2 : Click the Foreground Color.

Step 3 : The Color Picker dialogue box opens.
Step 4 : From the Spectrum in the middle I have picked Blue (A) and then clicked a shade of Blue (B). Click ok in the Color Picker.
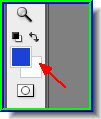
Step 5 : The Foreground Color has changed to the color I picked.
 Step 6 : Now click the Background Color i.e. White.

Step 7 : The Color Picker opens again.

Step 8 : From the Spectrum (A) I have chosen a light blue and a shade of the light blue (B). Click ok.

Step 9 : The Background has changed to the light shade of Blue I picked.

Step 10 : Go to Filter>Render>Clouds.

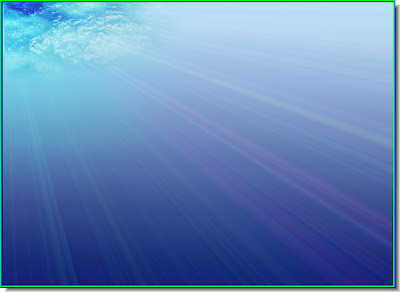
Step 12 : This is the effect you get.
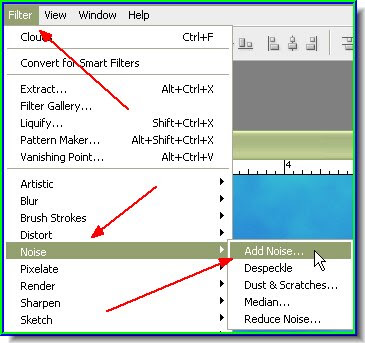
Step 13 : Go to Filter>Noise>Add Noise.

Step 14 : The Add Noise dialogue box opens.
Step 15 : The effect you get.
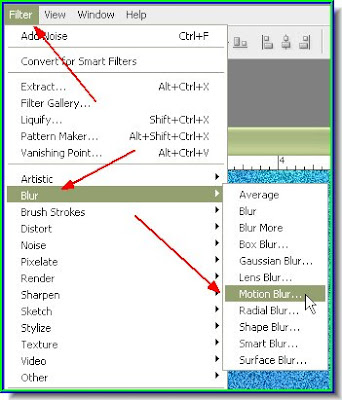
Step 16 : Go to Filter>Blur>Motion Blur.
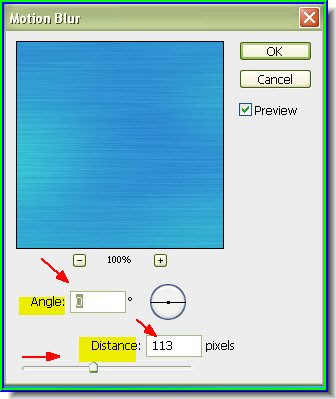
Step 17 : The Motion Blur dialogue box opens. Set the Angle at 0 and Distance at 113 pixels. Click ok.
 Step 18 : Select the Type Tool and Select the Horizontal Text Tool
 Step 19 : Look at the top panel. Click where the red arrow points to reveal the Fonts available. The Blue arrow points to the Font Size. You can enter a value in the box to set the Font Size.
 Step 20 : Click where the red arrow points to and a drop down box will reveal the fonts. In PS 7 the fonts will be shown, but not how they look like. This is an advatage in CS2 and CS3 that it shows how the fonts look like. I am choosing Impact as the Font. You will find it, it is part of the Fonts included.

Step 21 : Draw out a selection with the Type Tool. This will contain the text.
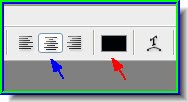
Step 22 : Look at the top panel. The Black Square (red arrow) is for setting the color of the text. Click it and it will bring up the Color Picker. Choose a color as you chose the Foreground and Background color. By default it is Black. The Blue arrow points to the Margin. I have chosen the central margin, the others are for setting the left and right margins respectively.
 Step 23 : I have typed in the Text.

Step 24 : In the Color/Swatches/Styles pallete click on Styles.

Step 25 : The Swatches pallette is revealed.
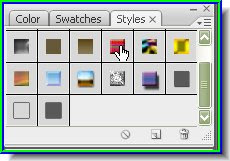
Step 26: I am clicking on the Swatch where the small white hand ponts to.

This is the effect I have got. Press CTRL+Z to undo if you are not satisfied with the result.
I am now clicking on another Style.

This is the effect
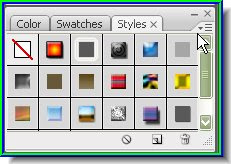
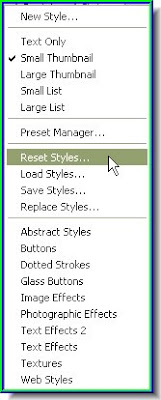
Step 27 : These are not the only Styles available. Click where the small white arrow points to. You will notice there is a small black arrow. Click it.

Step 28 : A pop up appears from where you can select various other styles highlighted in yellow. You must remember that after you are finished with Styles you should click on Reset Styles (highlighted in blue).
Step 29 : I have selected Text Effects 2 for some other effects.
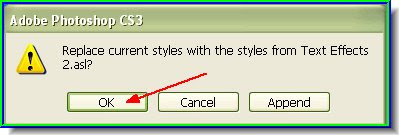
Step 30 : This popup appears. Click ok.
 Step 31 : The Text Effects 2 Styles now appears.
 Step 32 : I am clicking on another Style. See the small white hand.

This is the effect I get.
I am clicking on another Style.
 This is the effect I have got.
When you are done with Styles always remember to reset them.
 Step 33 : Now click where the red arrow points to. It is the Layer Styles button. This is CS3. You will this button looks a bit different in PS 7, but it is exactly in the same place.

Step 34 : A pop up appears. Click Outer Glow from it.

Step 35 : The Outer Glow dialogue box opens.

Step 36 : Now drag the Spread and Size sliders. As you drag the sliders you will able to see the glow appear and grow. When you are satisfied click ok.

The Outer Glow has been added.

Step 37 : Now click back on the Background layer to select it.
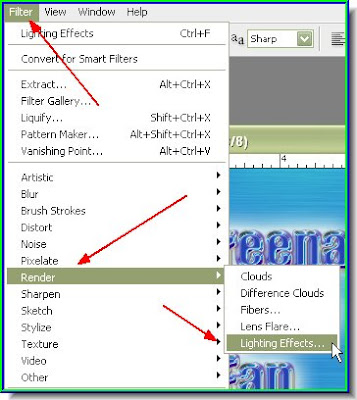
Step 38 : Go to Filter>Render>Lighting Effects.
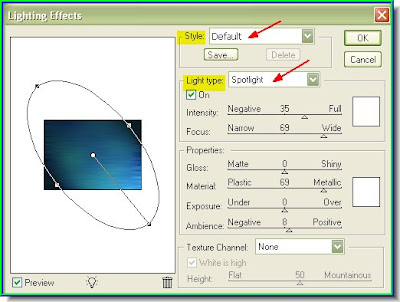
Step 39 : when the Lighting Effects dialogue box opens make sure the Style is set to Default and Light Type to Spotlight. Click ok.

This is the effect.
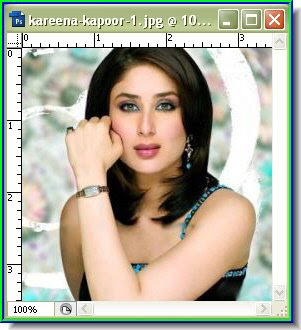
Step 40 : I have opened a picture of Kareena Kapoor.

Step 41 : I have dragged Kareena Kapoor's image onto to the composition and placed it below the layer containing the text by dragging it there.
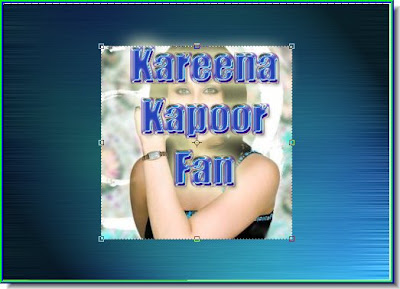
Step 42 : This is how the image looks. Now press ALt and drag any one of the corner handles to resize it.

Step 43 : This is how the image looks.
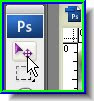
Step 44 : Click the Move Tool.

Step 45 : As soon as you click the Move Tool, this dialogue box opens. Click Apply.
Step 46 : Click the Add Layer Mask button shown by the small white hand and red arrow and a Layer Mask forms besides the layer thumbnail of Kareena Kapoor (Green arrow).
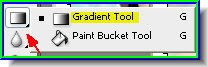
Step 47 : Click the Gradient Tool.
 Step 48 : Make sure that The Foreground Color is set to Black and Background to White. Click the small black and white square above it to set it to the default.
 Step 49 : Drag up from bottom to top vertically with the Gradient Tool.

Step 50 : This is the effect you get.

Step 51 : Go to Edit>Fade Gradient.

Step 52 : Reduce the Opacity to 40%. It will also depend on your image and the amount you want.

The finished image.


