Step 2 : Click on the Zoom Tool. Look at the top panel. You will find these two icons like magnifying glasses. The one with the plus sign is to make the image larger and the one with the minus sign to make the image smaller.
 Step 3 : I have zoomed into my image with the Zoom Tool.
 Step 4 : Click the Pen Tool to select it.
 Step 5 : I have clicked the first point with the Pen Tool.
 Step 6 : Click a second point with the Pen Tool. It will be joined by a line from the first point. But the trick is not to let go of the left mouse button. Drag out and you will find two anchor handles from both sides of the point in the middle. The longer you drag the larger will be the anchor handles. You can also manipulate the handles to go around curves.
Step 7 : I have clicked a third point. Step 8 : I have clicked and dragged again without letting go of the left mouse button.
Step 9 : I have clicked and dragged. That is the secret. Just continue. Step 10 : I have clicked and dragged again.
 Step 11 : I have clicked and dragged again. If you wish to undo a point Press ALT+CTRL+Z. Try it out.
 Step 12 : I have again clicked and dragged. As you drag you will be able to work around corners. You must not let go of the left mouse button. To scroll press the Space Bar. A small white hand will appear, which will enable you to scroll up, sideways or whichever way you want.
 Step 13 : I have now gone around the head with the Pen Tool by clicking and dragging. Easy is it not?
 Step 14 : I have gone around the face.
 Step 15 : When you come back to the first point a 'o' will be visible near the Pen Tool which means that the path will be closed.
Step 16 : The path has formed around the figure. Zoom out.
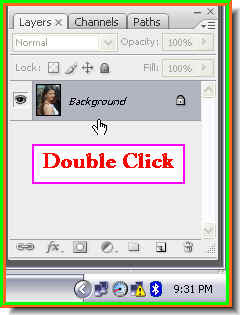
Step 17 : Now double click the Background layer.
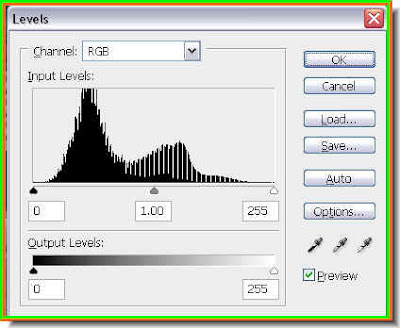
Step 18 : As soon as you click the Background layer, this dialogue box opens. Click ok.
Step 19 : the Background changes to Layer 0.
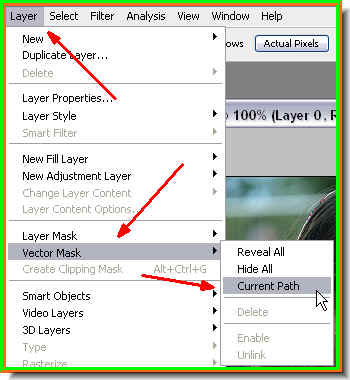
Step 20 : Go to Layer>Vector Mask>Current Path.
And, Hey Presto! Look at the clean selection that I have got. That is all. Try it out. Please give me feedback on this tutorial. Do not forget to see the eaarlier tutorials too.
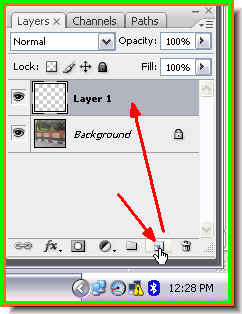

 Step 3 : Press ALT+Backspace. This will fill Layer 1 with the Foreground color i.e. Black.


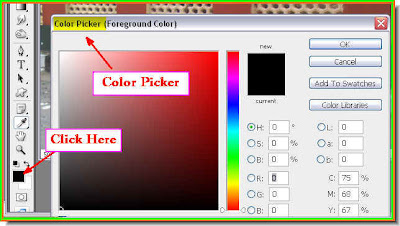


 To make the Brush Tip bigger or smaller use the [ ] (bracket) keys. Use the [ (left bracket) to make it smaller and ] (right bracket) to increase the brush tip size. These are useful shortcuts.
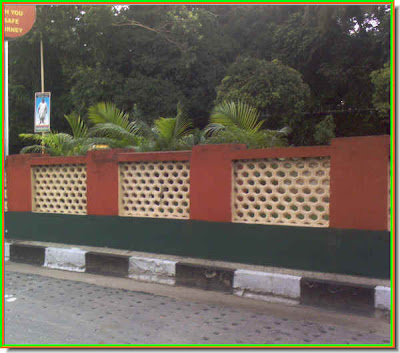
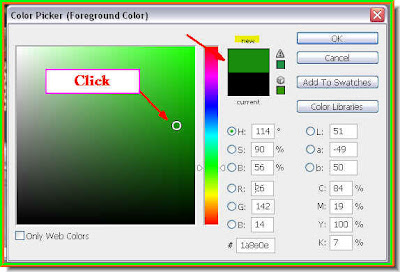
 Step 12 : Now since I have chosen green as the Foreground Color I am painting the foliage green.


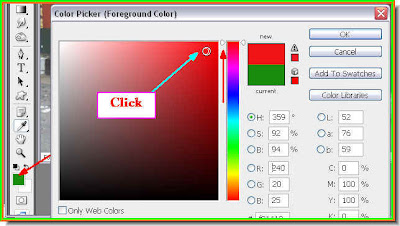
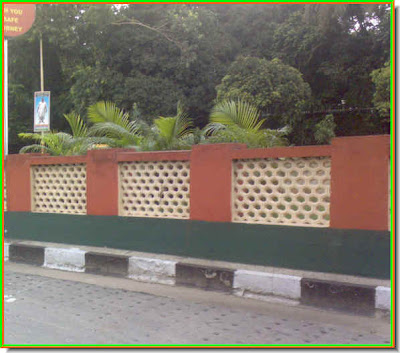
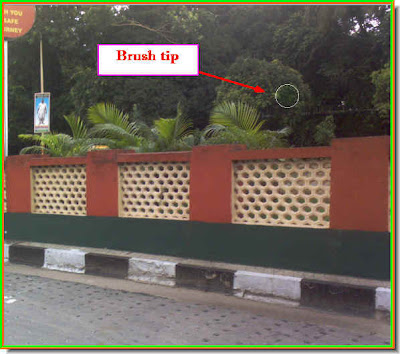
 Step 16 : I am using the Red to paint on the Red portions of the image.
 Step 17 : I have made the Brush Tip smaller with the [ (left bracket) key.