This is a special effects tutorial on giving a cracked looked to a face. For this a Displacement Map is necessary. You need two pictures first to give the cracked look.
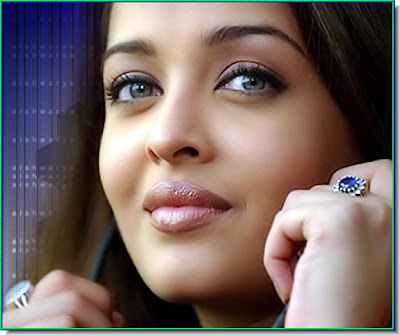

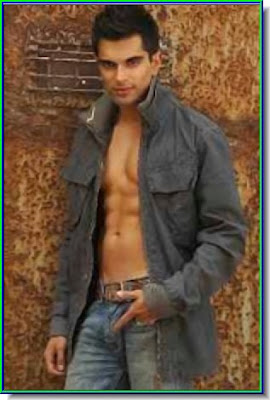
Step 1 : I have opened two images -- one of a face (rather a famous one) and one of cracked earth.
Step 2 : I have selected the face first and then the Crop Tool (see arrow).
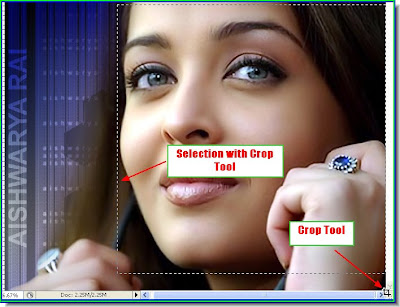
Step 3 : With the Crop Tool drag out a selection to crop the face and edit out the rest of the background.
 Step 4 : To apply the Crop click the tick mark on the top panel as shown.

Step 5 : The face has been cropped.

Step 6 : Click the Move Tool.
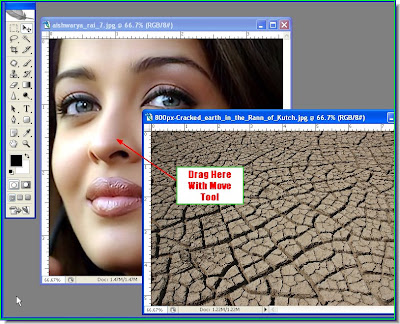
Step 7 : Drag the cracked earth image onto the face image, keeping the SHIFT key pressed.

 Step 8 : The cracked earth image has landed in the middle of the face image in the top image. Now press ALT and drag up using a handle you will find on top with the Move Tool. Now the cracked earth image covers the face image entirely.
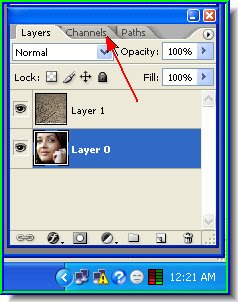
 Step 9 : Go to the Layers/Channels/Paths pallette and change the Blend Mode. Click where arrow points to reveal the popup.
 Here is a closer look at the options available in Blend Mode. I have chosen Darken because it works. You might have to choose something else for your image.
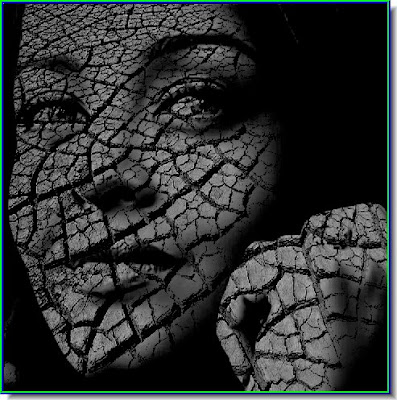
 Step 10 : Here is what the image looks like with the Blend Mode set to Darken.
 Step 11 : In the Layer/Channels/Paths pallete click on the Background layer.
 Step 12 : Double click on the Background in the Layers/Channels/Paths pallette (A). This will open the New Layer dialogue box (B) see at left. Click ok.

Step 13 : The Background has now changed into Layer 0.
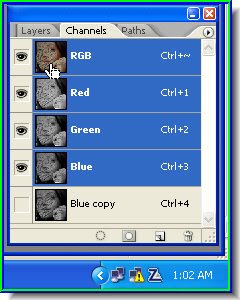
Step 13 : In the Layers/Channels/Paths pallette click Channels. Click where the arrow points to reveal the Channels pallette.

Step 14 : The channels pallette is revealed.

Step 15 : Now see which channel among the Red, Green and Blue channels has the most contrast. Here the Blue channel has the most contrast. Drag the Blue Channel to the New Channels button shown by the red arrow and a Blue Copy Channel forms shown by the blue arrow. Now look at the top right where the green arrow points to. It shows a tiny arrow. Click it.
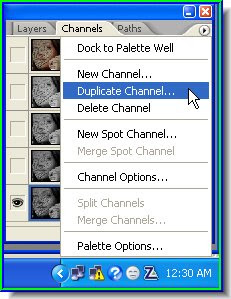
Step 16 : After you click the small arrow, from the popup click on the Duplicate Channel.
 Step 17 : The Duplicate Blue Copy dialogue box now pops up. Click at the right side of the Document and from the dropdown choose New. Click ok.

Step 18 : Go to Image>Adjustments>Levels

Step 19 : When the Levels dialogue box opens drag the Black Slider at the left towards the right. It will darken the image. Click ok.
Step 20 : This is how the image looks.

Step 21 : Go to Image>Adjustments>Curves.

Step 22 : When the Curves dialogue box opens drag the diagonal in the centre slightly upwards. It will darken the image a little more. Click ok.
Step 23 : This is how the image looks.

Step 24 : Go to File>Save As
Step 25 : Save the image as PSD on your computer. I have given the name of the image file as 'woman'. Close the woman image after saving. It is no longer needed.
Step 26 : In the Channels pallette which we have been working on click on RGB channel on the top. The color returns to the image.

The color has returned to the image.

Step 27 : Now click back onto the Layers pallete.

Step 28 : Now click on Layer 1 to select it.

Step 29 : Go to Filter>Distort>Displace.

Step 30 : The Displace dialogue box opens. Click ok.
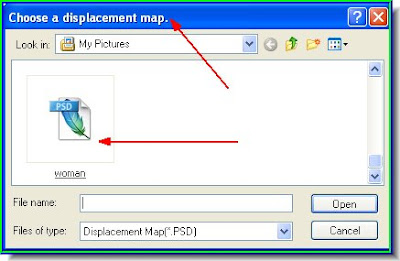
Step 31 : The Choose a Displacement map dialogue box opens. You will find the psd file there. I had saved it as woman. It is there. Click on the psd file and click ok.
 Step 32 : The Displacement has been applied.
 Step 33 : Now click on Layer 0. Click on the New Layer icon shown by the red arrow and Layer 2 forms just over Layer 1 and beneath Layer1 .

Step 34 : Go to Edit>Fill. Make sure that the Foreground color is set to black.
Step 35 : The Fill dialogue box opens. Make sure Use is set to Foreground Color. Click ok.
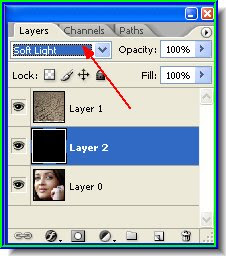
Step 36 : Now change the Blend Mode to Soft Light. In your case you may need to set another blend mode. Here Soft Light works.
 Step 31 : Here is the image.
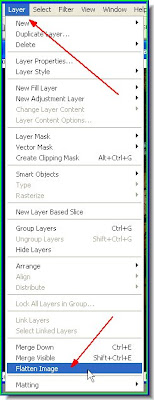
Step 32 : Go to Layer>Flatten image.

Step 33 : Go to Image>Adjustment>Levels.

Step 34 : When the Levsl dialogue box opens drag the white slider towards the left as shown.

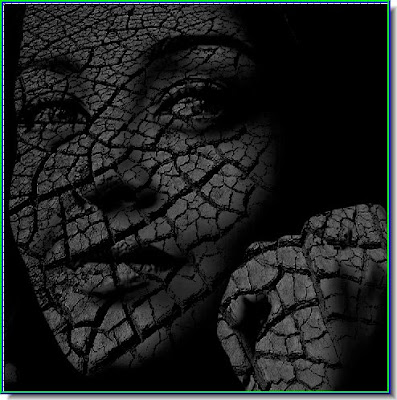
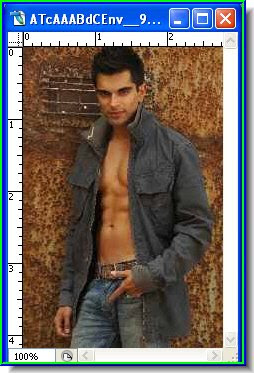
The cracked image. Try it out.

