This is a special effects Photoshop tutorial. This to make a person look bald. You don't need to go to the barber for that bald look, you can do it in Photoshop. You will need the Pen Tool, the Healing Brush Tool, the Brush Tool and the Sharpen Tool for this tutorial. The 21st step has been corrected.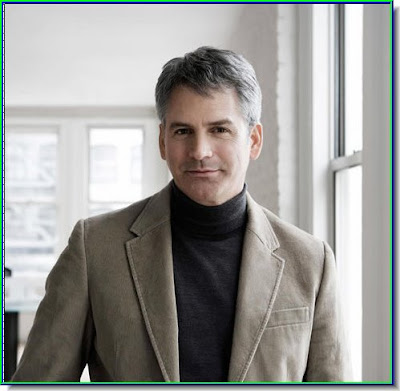
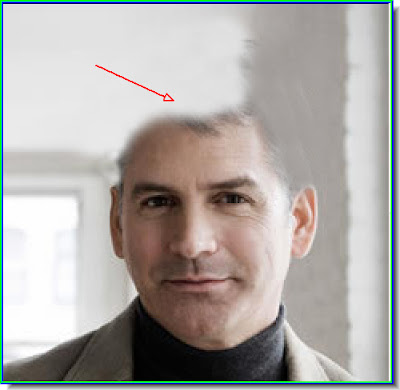
Step 1 : This is the photo I have opened in Photoshop to give the bald look to.
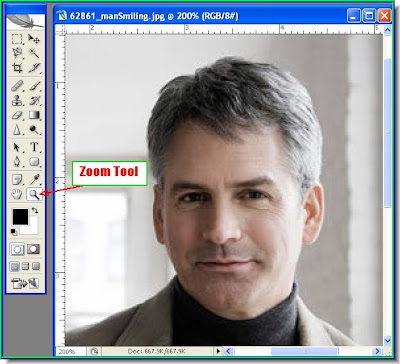
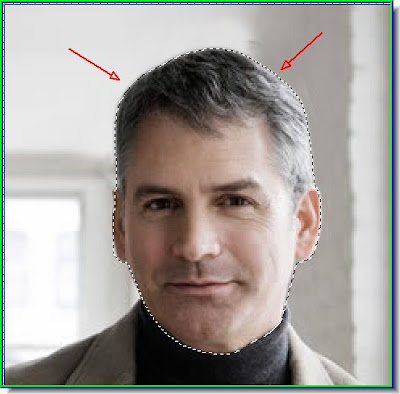
Step 2 : I have first zoomed in on the face as this is the portion I will be applying manipulation to.
 Step 3 : Now a selection of the face has to be made. For this the best tool to use is the Pen Tool as it is very accurate. You may choose the Magnetic Lasso Tool if you are more comfortable with it.
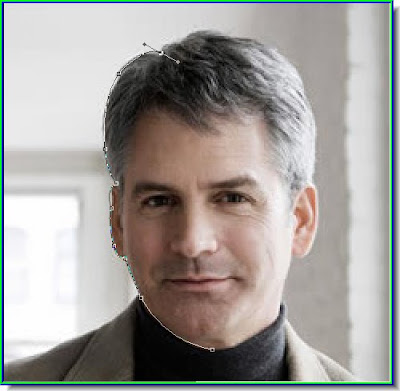 Step 4 : I am using the Pen Tool to make the selection. I find it easier to use.
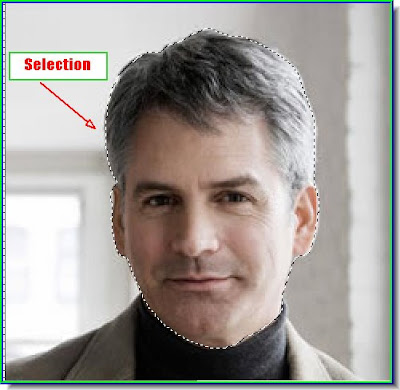
Step 3 : Now a selection of the face has to be made. For this the best tool to use is the Pen Tool as it is very accurate. You may choose the Magnetic Lasso Tool if you are more comfortable with it. Step 4 : I am using the Pen Tool to make the selection. I find it easier to use.Step 5 : I have made the selection.
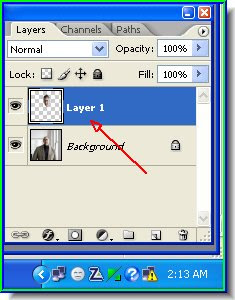
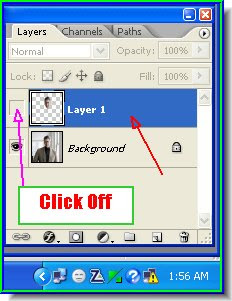 Step 6 : Press CTRL+J on the keyboard and the selection will be copied to a new Layer -- Layer 1. Now switch off the eye icon on Layer 1. This will hide the layer.
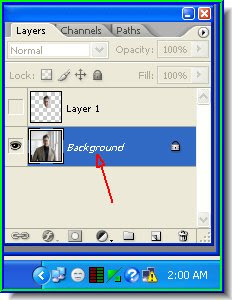
Step 7 : Now click back on the Background Layer.
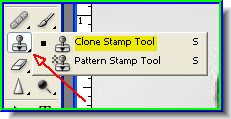
Step 8 : Select the Clone Stamp Tool from the fly out.
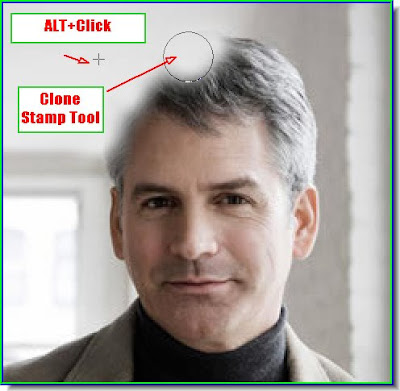
Step 9 : Now Alt+click a point from where you will clone. I have cloned away a part of the hair already by ALT+clicking.
Step 10 : I have cloned away the hair as you can see.
Step 11 : Now click back on Layer 1.
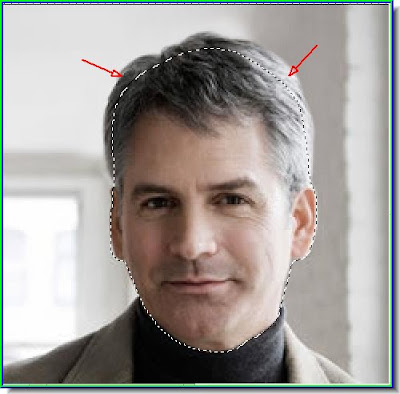
Step 12 : Now again make a selection. This time you have to do it carefully. Notice that I have made the selection inside the hairline. The selection will be the bald scalp, therefore the selection is smaller than the head of hair.
Step 13 : Remember that you are working on Layer 1. Now press CTRL+SHIFT+I to invert the selection, then press DELETE.
Step 14 : This is how the image now looks. The hair at the top of the head has reduced because a portion has been deleted in the step above. The remaining portion will be turned into the scalp. Press CTRL+D to deselect.
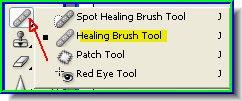
Step 15 : Now select the Healing Brush Tool from the fly out.
 Step 16 : With the Healing Brush Tool Alt+Click to select pixels from the forehead to reduce the remaining hair into the scalp.
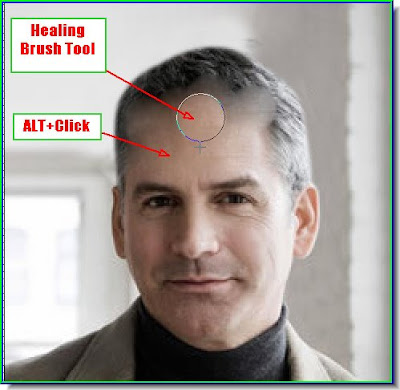
Step 16 : With the Healing Brush Tool Alt+Click to select pixels from the forehead to reduce the remaining hair into the scalp.Step 17 : I have completed the work with the Healing Brush Tool. You have to very careful and slow during this part of the exercise. Do not hurry or your efforts might turn out to be blotchy. You must aim for a smooth effect like I have done.
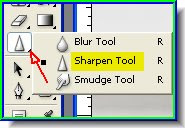
Step 18 : Now select the Sharpen Tool.
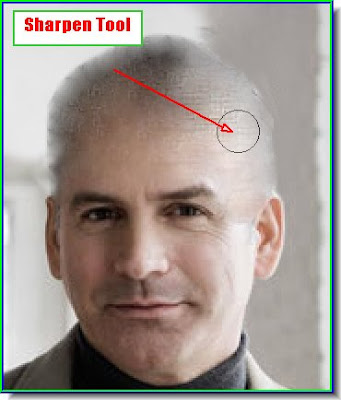
Step 19 : I have applied the Sharpen Tool. It makes the scalp look bristly.
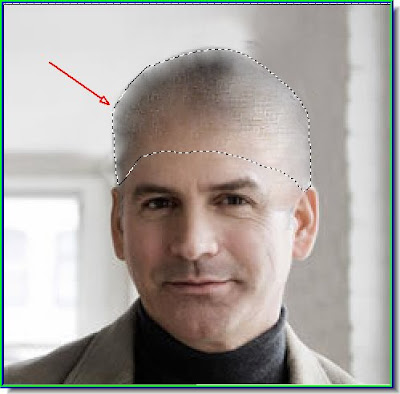
Step 20 : Now make a selection of the scalp as shown. I have used the Pen Tool. Then press CTRL+J to copy and paste it to a new layer.
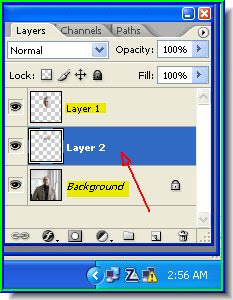
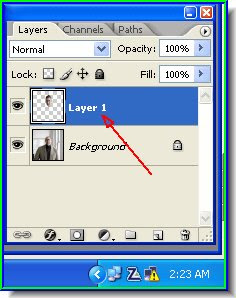
Step 21 : Position the new layer below Layer 1 and above Background. CTRL+CLICK the layer thumbnail on Layer 2 to make the selection of marching ants return.
 Step 22 : Now click on the Foreground Color.
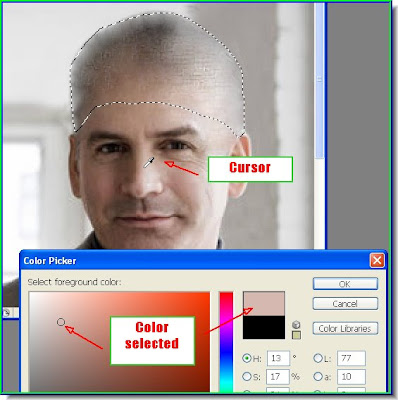
Step 22 : Now click on the Foreground Color.Step 23 : With the marching ants in place, clicking on the Foreground Color brings up the Color Picker. Use the cursor to click on the skin color. The cursor changes to a dropper. The color is automatically selected. Click OK in the Color Picker.

Step 24 : The Foreground color has changed to skin color or the color you picked.
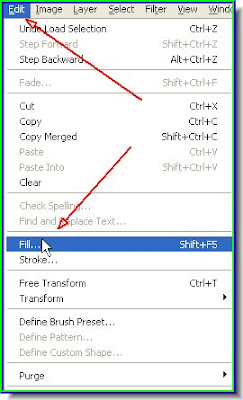
Step 25 : Go to Edit>Fill.
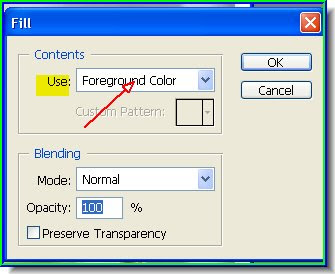
Step 26 : The Fill dialogue box opens. Make sure 'Use' is set to Foreground Color. Click OK.
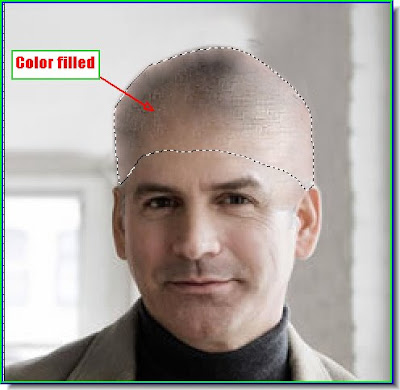
Step 27 : And the selection has been filled with skin color.
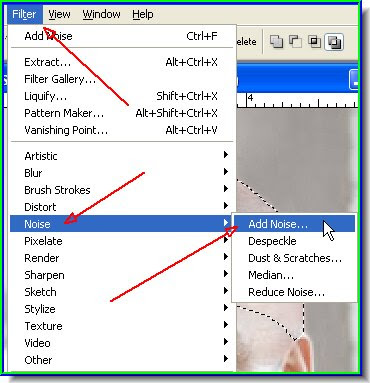
Step 28 : Go to Filter>Add Noise.
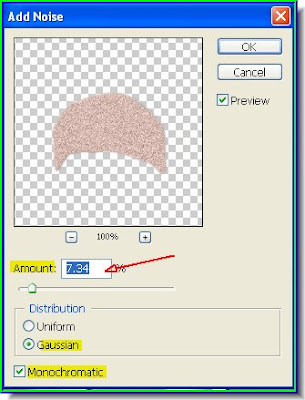
Step 29 : When the Add Noise dialogue box opens give the settings shown above. Press CTRL+D to deselect.
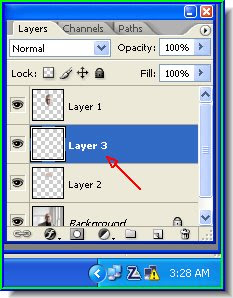
Step 30 : Press CTRL+SHIFT+N to make a new layer -- Layer 3.
Step 31 : Now make sure the Foreground is set to White.
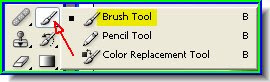
Step 32 : Now select the Brush Tool. Remember you can make the brush tip bigger or smaller with the bracket [ ] keys.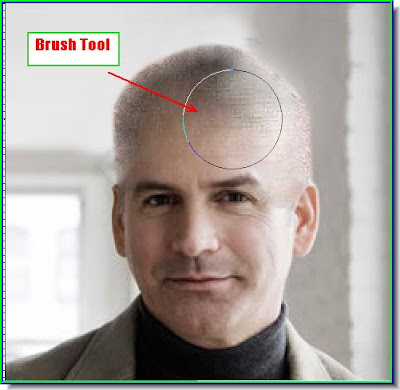
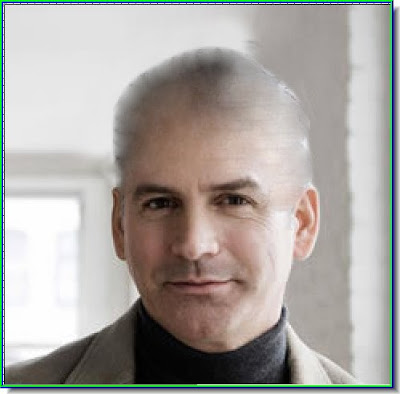
Step 33 : Make the Brush tip large and click once or twice with it on the scalp to add a shine. Since the light source is from the right, I have added the shine to the right.
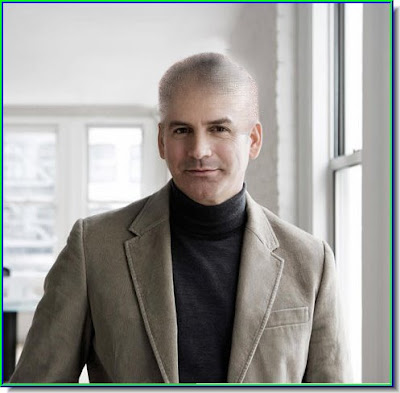
And here is the same gentleman we started out with, but now he is now one among the the bald and the beautiful. That is all. Try it out.
The latest photoshop tutorials are here.
No comments:
Post a Comment