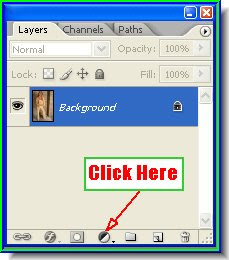
Step 2 : Click on the button shown by the arrow. It is the New Fill or Adjustment Layer Button. Step 3 : When you click the New Adjustment Layer button a pop up appears. Click Levels from it.
 Step 4 : In the Layers/Channels/Paths pallette the Adjustment Layer has formed.
Step 5 : Simultaneously the Levels dialogue box opens. Now drag the Grey slider in the middle towards the right.
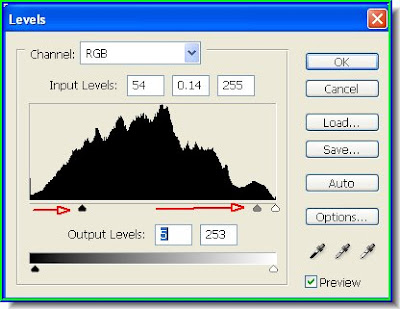
Step 6 : Drag the Grey slider as shown as also the Black slider.
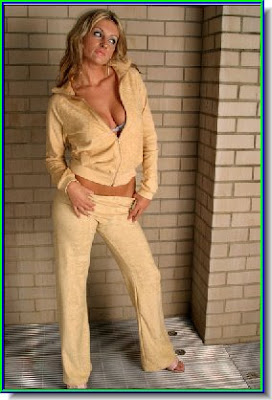
This is how the photo looks. The entire image has become dark. Click ok in the Levels dialogue box.
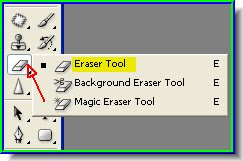
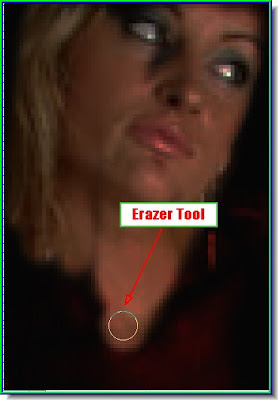
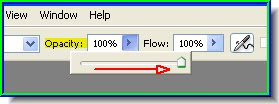
Step 7 : Click the Erazer Tool to select it. Step 8 : Look at the top panel. Lower the Opacity by dragging the slider down to 50 %. You have to click to reveal the slider. Let the Flow remain at 100%.
Step 9 : Click where the arrow points to to reveal the drop down and drag the Hardness slider to 1 or 0. You need not set the Master Diameter as you can make the tip of the erazer small or large with the bracket [ ] keys. Note that the Foreground Color is set to black. You can switch between Foreground and Background color with the 'X' key on your keyboard. Click X and Foreground will change to White. Now select the Erazer by clicking it. Step 10 : I have erazed the foreground near the the feet. It is now lighter.
Step 11 : Click on the Zoom Tool to select it. Zoom in on the image. The small magnifying glass with a plus and minus sign at the top is for zooming in or ot. You can also use the bracket [ ] keys for zooming in or out. Again switch to the Erazer Tool. Click to select it.
Step 12 : With the Erazer Tool get to work on the girl's figure. I have begn with the face. I have erazed more portions of the girl's dress. Note the number of passes you make with the Erazer will lighten them further each time. Should you eraze a part of the background, switch to black as the foreground color by pressing X on the keyboard. Correct the mistake by erazing the background.
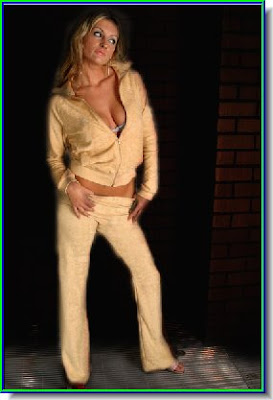
I have erazed the girl's face and her entire figure. She is now properly in focus. That is all.
No comments:
Post a Comment