


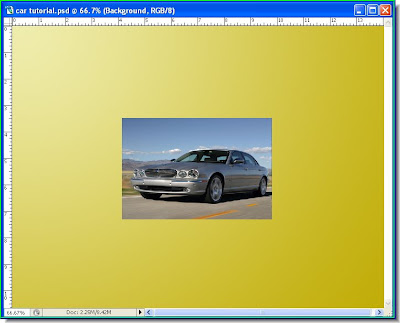
 Step 1 : This is a new tutorial on making a poster using any number of images. I will be using three. I have opened three images of Jaguar cars and a blank white document.
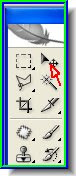
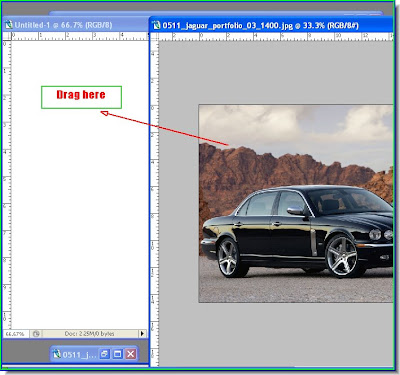
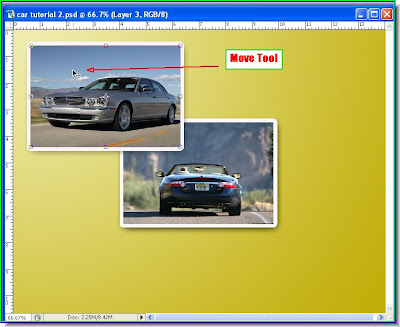
Step 2 : Using the Move Tool drag the car photos one by one onto the White layer. Step 3 : Using the Move Tool, move the car layer a little to the right so that you can see the White Layer behind. Now press ALT and resize the photo by dragging with the Move Tool. Keeping the ALT pressed will resize the image proportionately.
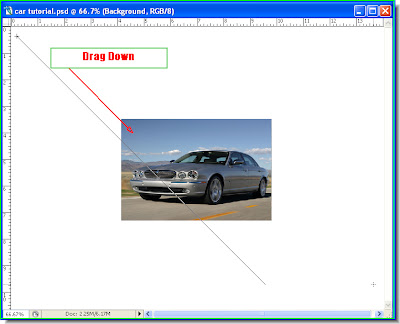
 The photo has been resized.
 Step 4 : The three photos have been dragged to the White Layer. Since you have resized them you have to apply the transformation. After resizing each of the photos click the Move Tool or any other tool. The Apply Transformation dialogue box will pop up. Click apply. This must be done for each of the images. Here it has been applied thrice one by one for each of the three photos.
 Step 5 : Now again resize the images with the Move Tool so that they are one behind each other. You will again have to apply the transformation three times.
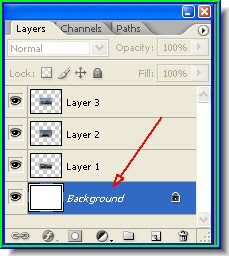
Now look at the Layers/Channels/Paths pallette. You will find the White layer at the bottom labelled as Background. The three pictures of the Jaguar cars are now one on top of the other over the white layer.
Step 6 : Click on the Background or the white layer. Step 7 : Click on the Foreground Color (A). This will bring up the Color Picker dialogue box (B). Click the yellow on the Spectrum (C). Next choose a shade of yellow (D). Click ok.
Step 8 : Click on the Background Color (A). Click on the Spectrum and choose a deeper shade of Yellow (B). Choose the actual shade of yellow (C). Click ok.
 Step 9 : This is how the Foreground and Background color now look.
Step 10 : Click the Gradient Too to select it (red arrow). You can see the Gradient on top now (green arrow). Next click the icon shown by the mauve arrow. It is the Radial Gradient. Hover the cursor over it and you will be able to read the four kinds of Gradient styles available.
Step 11 : Drag diagonally with the Gradient Tool.
Step 12 : This is how the image now looks.

Step 13 : With Layer 1 selected right click the icon with a 'f'' sign on the bottom of the Layers/Channels/Paths pallette. See the small hand. Step 14 : From the pop up after right clicking select Stroke.
 Step 15 : The Layer Style dialogue box opens. Click the Color. By default it is red.
 Step 16 : This brings up the Color Picker. Click the white as shown by the arrow. This will make the Stroke Color white.
 Step 17 : I have set the size of the Stroke at 10 pixels. You can see the Stroke applied in the photo. The size of the Stroke will depend on the size of your photo. You can decide the Size.
Step 18 : Now apply the Stroke with the same settings to Layer 2 and Layer 3 in turn.
 Step 19 : Click back on Layer 1. Then just as in Step 13 right click the 'f' icon at the bottom. From the pop up click Drop Shadow.
 Step 20 : The Drop Shadow dialogue box opens. I have set the Distance, Spread and Size values. You should set them according to the photo that you use. Click Ok. Then apply the Drop Shadow with the same settings to Layer 2 and Layer 3.
The Drop Shadow has been applied to all the three layers.
Step 21 : Use the Move Tool to move the Layers one by one. I have moved Layer 3 to the top left. Step 22 : Go to Edit>Transform>Rotate.
 Step 23 : Hover you cursor on the left top corner or any of the corners and you will find a small bent two-headed arrow appear as shown above.
 Step 24 : Now rotate the image as shown. Use the Move Tool to Move it into place.
 Step 25 : Move the image into place suitably then click the Move Tool. The Apply Transformation dialogue appears. Click Apply.
 Step 26 : I was working on Layer 3. Now follow the same process with Layer 2 and Layer 1 to move the images into place.
 Step 27 : The images have been moved into place. The color of the background can be changed if you are not happy with it.
 Step 28 : Press CTRL+U to bring up the Hue/Saturation dialogue box.
 Step 28 : To change the color drag the Hue slider first, then the Saturation and Lightness sliders till you are satisfied. Then click ok.
 The finished image.
 You can add some text if you want to.
No comments:
Post a Comment