You can crop a photo in any shape that you might want to for a special effect. Just follow the steps below:
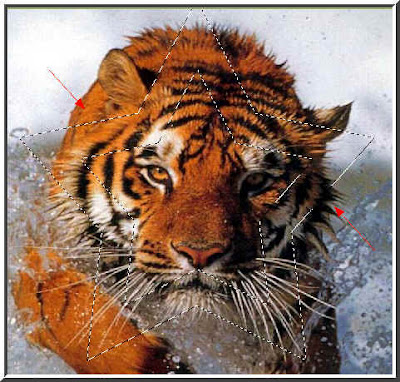
Step 1 : Open any photo of you choice in Photoshop. I have opened this photo of a tiger.
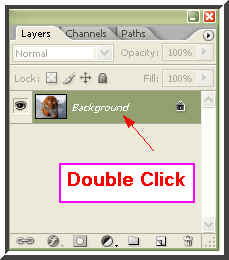
Step 2 : Double click the 'Background' in the Layers/Channels/Paths pallette.
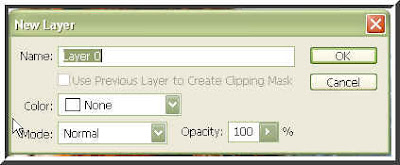
Step 3 : This dialogue box opens. Click ok.

Step 4 : Note that 'Background' has changed to Layer 0. The background is now editable.
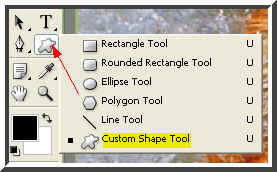
Step 5 : Access the Custom Shape Tool from the panel at the left of Photoshop.
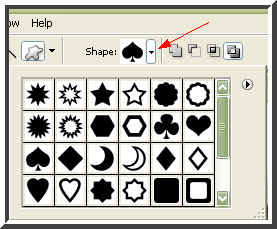
Step 6 : Now click where the red arrow points to in the top panel and a drop down window appears which shows the custom shapes. Note this is only one set. There are others also.
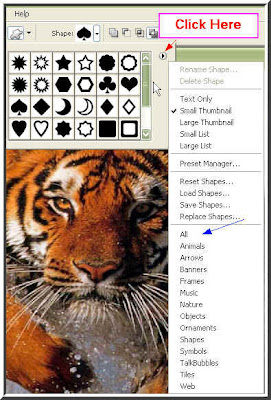
Step 7 : Click the red arrow. You will find a list of all shapes available (blue arrow).
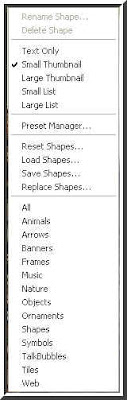
A closer look at what is available.
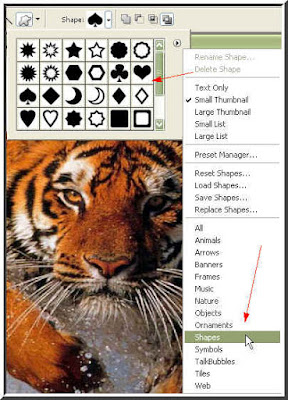
Step 8 : I have chosen Shapes.You can see what is available in Shapes.
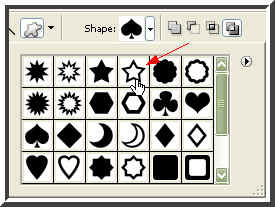
Step 9 : I am choosing the star shape. Click to select.

Step 10 : A Shape 1 Layer forms.

Step 11 : The shape is filled with solid Black.

Step 12 : CTRL+CLICK the Vector Mask.

Step 13 : A selection of marching ants form.

Step 14 : Drag the Shape1 layer to the Trash Can at the bottom.
Step 15 : Now only a column of 'marching ants' remain.
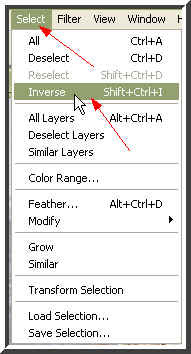
Step 16 : Go to Select>Inverse.
Step 17 : You will now find the selection has been inverted.
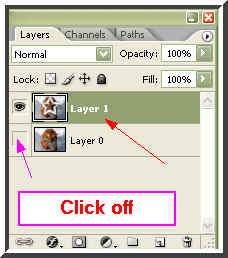
Step 18 : Press CTRL+J on your keyboard and you will notice a new Layer 1 in the Layers/Channels/Paths pallette. Layer 1 is selected. Now click off the eye icon in Layer 0.
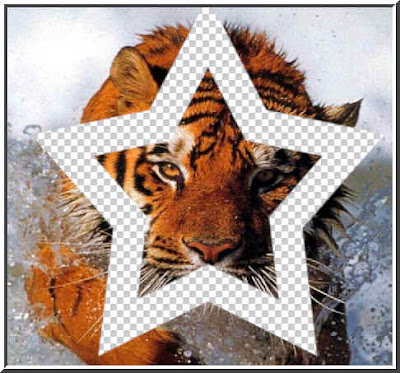
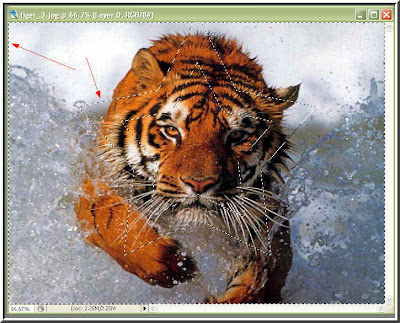
Step 19 : This is how the image now looks.

Step 20 : Now choose the Erazer Tool. You can see where it can be found. Click to select it.
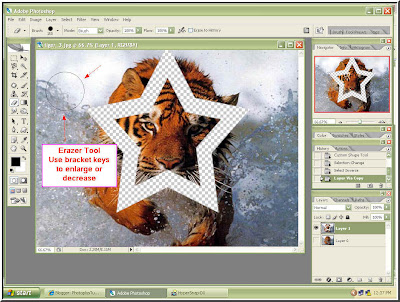
Step 21 : You can increase or decrease the size of the Erazer Tool with the bracket keys on your keyboard.
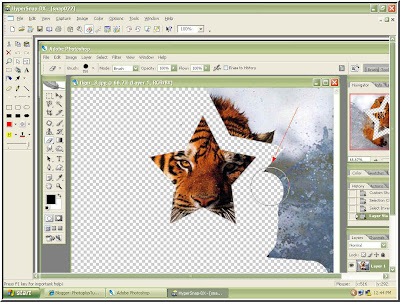
Step 22 : Here you can see the photo's background being erazed.
Step 23 : Now only the star shape with the tiger's face remains.
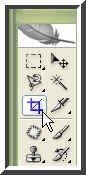
Step 24 : Now click the Crop Tool (White arrow). Click to select it.
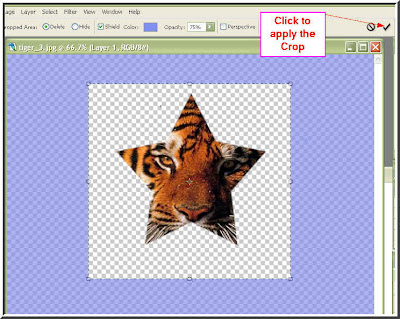
Step 25 : Now draw a selection which you want to crop out. Then click the tick mark shown to apply the crop. (Click here for an interesting tutorial on Crop Tool.)

Step 26 : Press CTRL+CLICK the New Layer icon. A new layer 2 forms under Layer 1.

The Foreground color should be set to the default Black and Background to White. If it is not press x and d on the keyboard to restore the default setting.

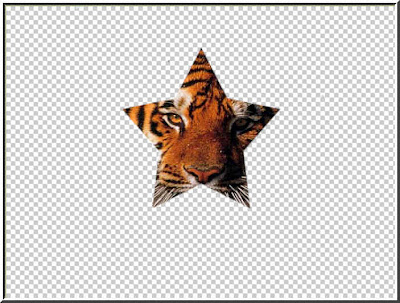
Step 27 : Press CTRL+BACKSPACE. Layer 2 fills with the Background Color which in this case is White.

Here is the cropped image. Now you can add a background or use brushes to embellish it.
Please see here for the latest tutorials.
No comments:
Post a Comment