I have posted a tutorials on use of the High Pass filter in Photoshop here. This filter can be used to sharpen images. You can use this filter to correct dull mobile phone pictures and make them crisp. This tutorial is an improvement on the one I posted earlier.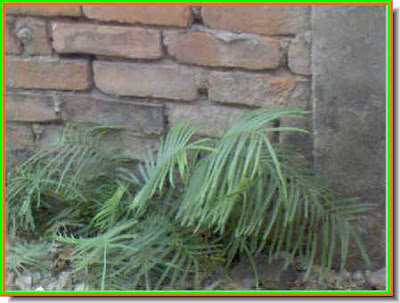
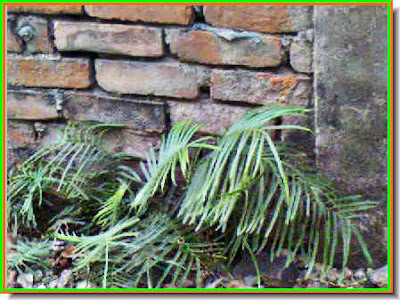
Step 1 : I will use this photo I took with my mobile phone for this tutorial. You can see that the colors are dull and details are not sharp.
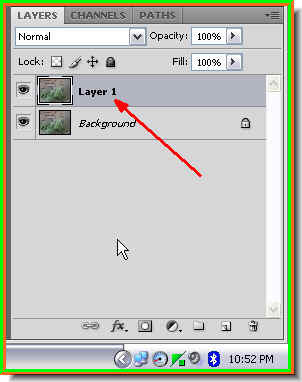 Step 2 : Look in the Layers pallette. There is only a single layer -- Background. Press CTRL+J to duplicate the Background. A new layer -- Layer 1 forms.
Step 3 : Go to Filter>Other>High Pass.
 Step 4 : The High Pass filter dialogue opens. Drag the Radius slider to something really high such as 40 pixels or thereabouts as I have done. Click ok.
 Step 5 : This is how the image looks. Even blurrier than when I started out.
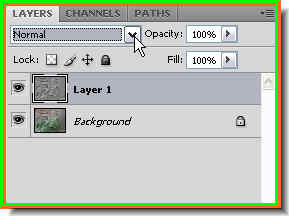 Step 6 : In the Layers pallette click where the arrow points to, to change the Blend Mode.
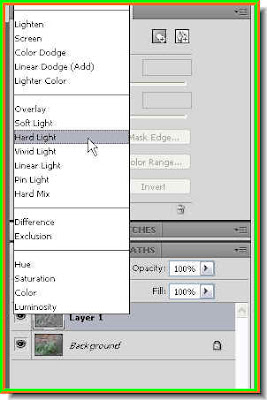 Step 7 : From the popup menu click on Hard Light.
Step 8 : The image looks clearer. Definitely an improvement on the one I started out with.
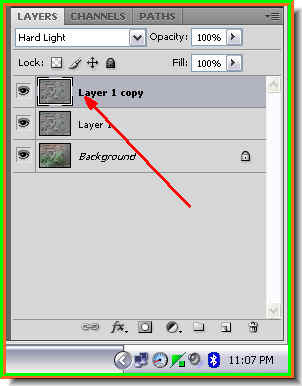
Step 9 : Press CTRL+J on the keyboard again and Layer 1 will be copied into a new layer -- Layer 1 copy.
Step 10 : Look at the image now. It looks sharp and bright. That is all there is to it. It can be done in any version of Photoshop.
No comments:
Post a Comment