

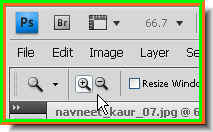
 Step 2 : Click on the Zoom Tool. Look in the top panel. You will find that there are two magnifying glass like icons. The one with the plus is for zooming in and the one with the minus for zooming out.
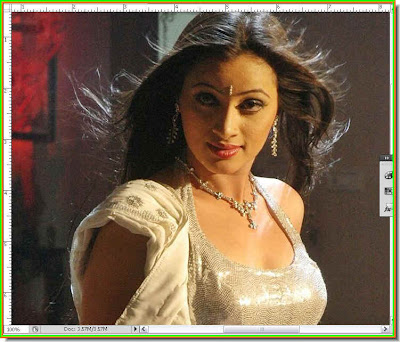 Step 3 : I have zooming on the image. The difficulty with this is that you cannot see the full image now. How do you do that?
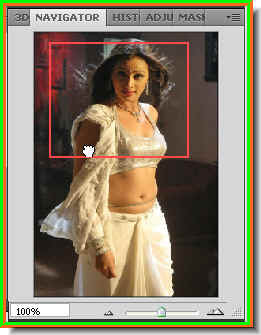 Step 4 : Look at the righthand top of photoshop. You will find the Navigator. The portion within the red outline is what you see. Place your cusor in the Navigator window and drag. The cursor changes into a small white hand. The portion you drag it is visible in your work space.
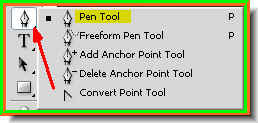 Step 5 : Now click the Pen Tool from the flyout.
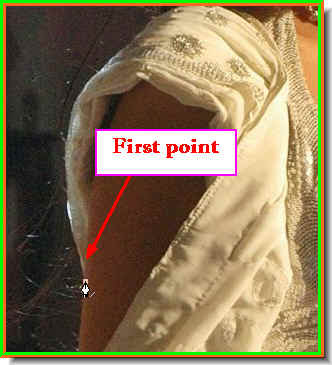 Step 7 : Click a point anywhere in the image. I have clicked the first point on the dress. This will be the starting point of the path that I will create with the Pen Tool.
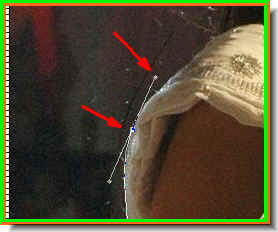 Step 8 : Click a second point and with letting go of the left mouse button drag and you will find two handles emerge. With the top handle you will be able to align the curved of the sari between the first point and second.
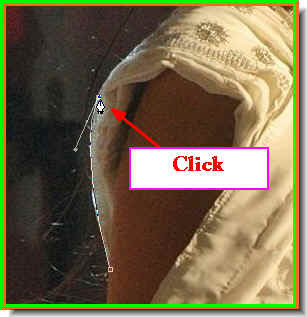 Step 9 : Now press ALT and click at the second point. The top handle will disappear.
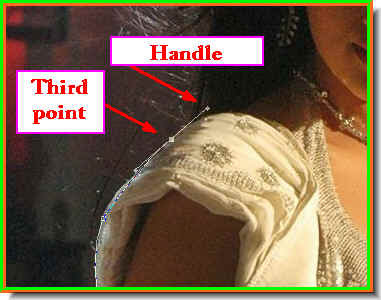 Step 10 : Click a third point and without letting go of the left mouse button drag and again you will find two handles appear.
 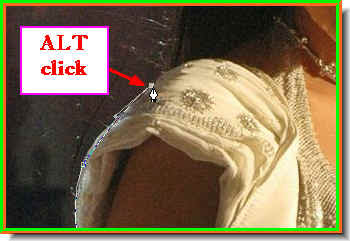 Step 11 : Now press ALT and and click the last point. Th top handle disappears. This is how you work with the Pen Tool to create a path. Click a point then drag with the left mouse button pressed, two handles appear, align while rotating the handle at the tip of the Pen Tool either to the left or right to align the line with a curve. Then press ALT and click on the last point. A handle disappears.
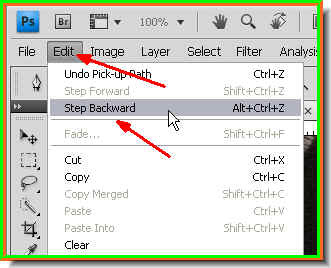 What if you place a point wrongly. Go to Edit>Step Backward. You can also press CTRL+Z to undo the last step. You want to start all over again just press ESC. But I doubt if you will need to do that.
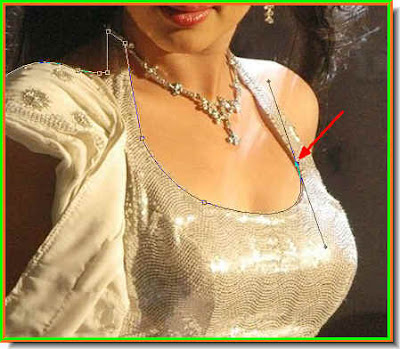 Step 12 : For going around shallow curves you can place the points futher apart.
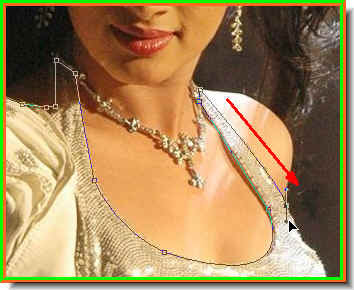 Step 13 : For straight portions also you can place the points far apart and align by draggin a handle.
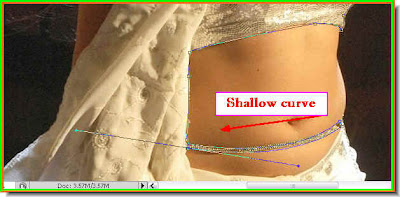 Step 14 : For large shallow curves drag out the handles. The more you drag the gentler will the curve be.
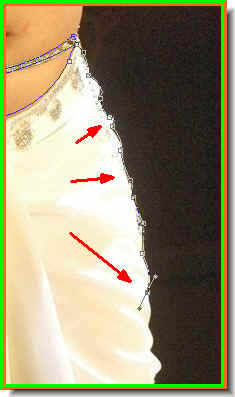 Step 15 : I have placed the points closer together as the curves here follow one after another.
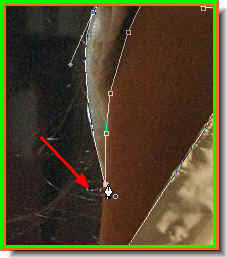 Step 16 : When you come back to the first point you clicked a small circle form near the PenTool which signals that the path will close.
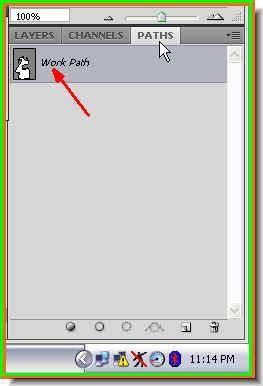 Step 17 : In the Layers/Channels/Paths pallette click on Paths to open the Paths pallette.
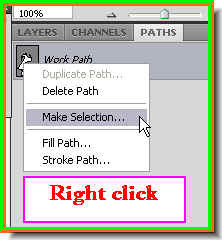 Step 18 : The Work path thumbnail is visible when you open the Paths pallete. Right click it and click on 'Make Selection'.
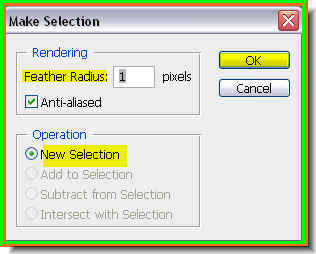 Step 19 : As soon as you click on 'Make Selection' , the Make Selection dialogue box opens. By default 'New Selection' will be selected. The 'Feater Radius' will be zero by default. Set it at 1 pixel. Click ok.
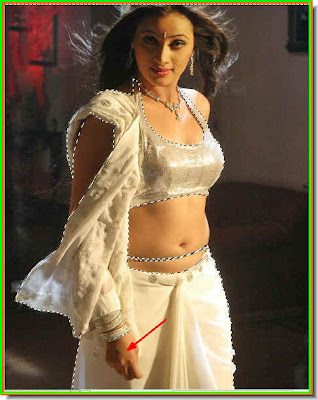 Step 20 : The entire sari has been selected, but unfortunately the right hand of the girl also falls within the selection. The hand has to be omitted.
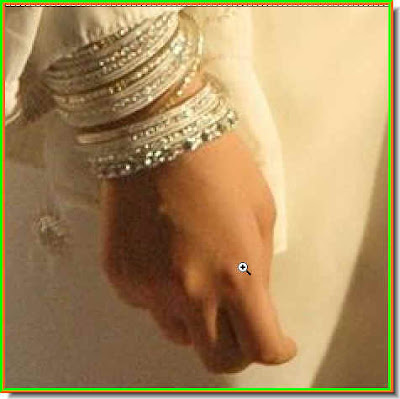 Step 21 : I have zoomed in the hand. It has t be selected also with the Pen Tool. The previous selection will not be affected by the new selection.
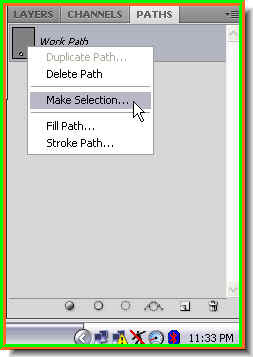 Step 22 : Right click the Work Path.
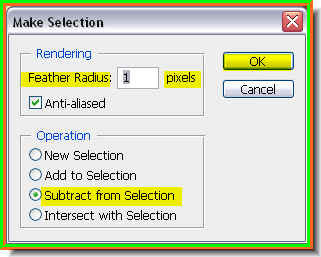 Step 23 : When the Make Selection dialogue box appears, select 'Substract from Selection' as the hand falls within the first selection. Click ok.
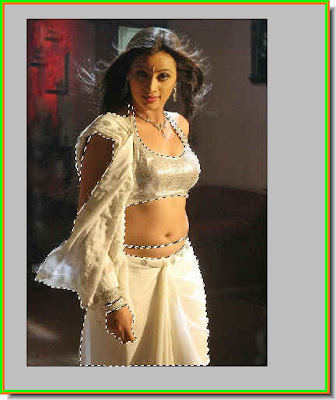 Step 24 : Now the entire sari only is selected.
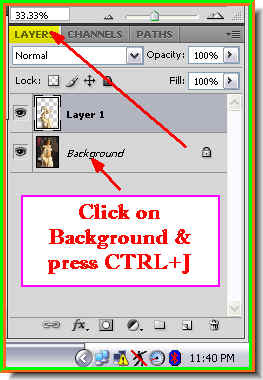 Step 25 : Click back on the Layers pallete. Then with the selection still in place press Ctrl+J. The elction will be copied and pasted onto a new layer i.e. Layer 1.
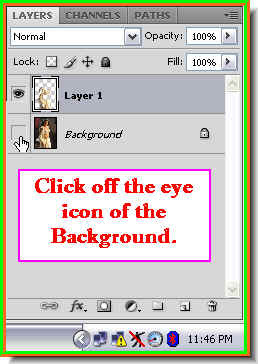 Step 26 : You are still on Layer 1. The layer you are working on is always highlighted. Background is not the layer we are working on. It is not highlighted. Click off the eye icon of the Background layer.
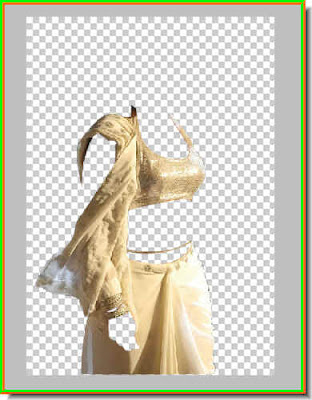 Step 27 : This is how my image looks.
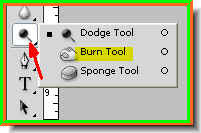 Step 28 : Click the Burn Tool from the flyout in the left panel.
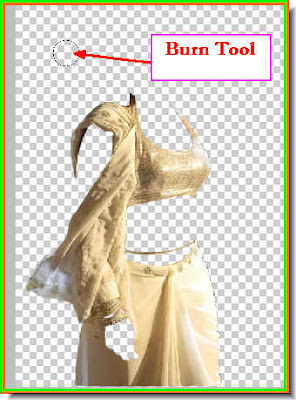 Step 29 : When you click the Burn Tool the tip or the cursor appears like a circle. Use the right bracket key -- ] -- to increase the size and the left bracket key [ -- to decrease the size of the tip.
 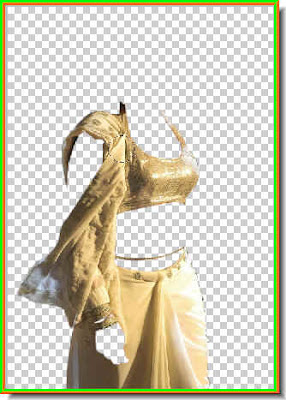 Step 30 : I have made a number of passes with the Burn Tool over the sari. Note every time you make a pass the image gets darker. So be careful not to overdo it.
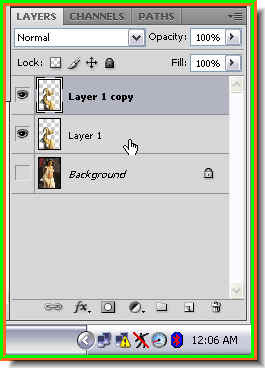 Step 31 : Remeberwe are working on Layer 1. Press CTRL+J. This will diplicate layer 1 as Layer 1 copy.
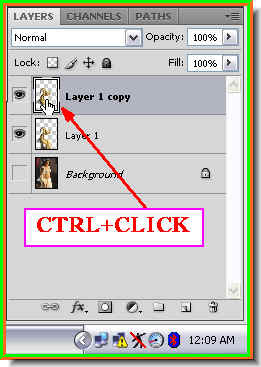 Step 32 : Now CTRL+Click the layer thumbnail of Layer 1 copy.
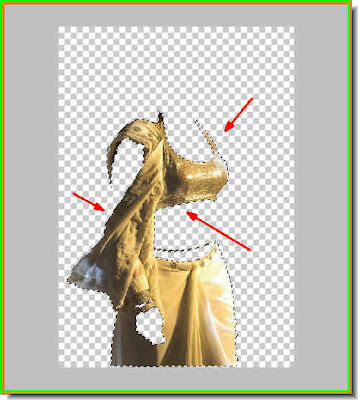 Step 33 : As soon s you CTRL+click the layer thumbnail of Layer 1 copy a selection of 'marching ants' appear around the sari. The rest of the background is unaffected.
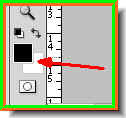 Step 34 : Make sure that your Foeground is set to Black and Background to White. This is the default setting. If it is not press 'x' and then 'd' on the keyboard to set it to the default.
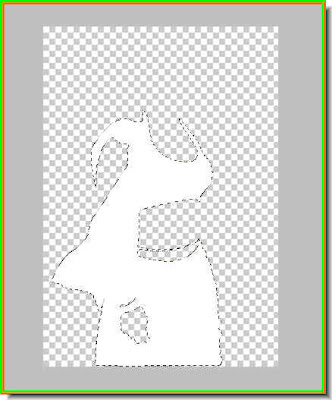 Step 35 : Now press CTRL+BACKSPACE. This will fill he selection with the Background color, which is White. The selection has been filled with White.
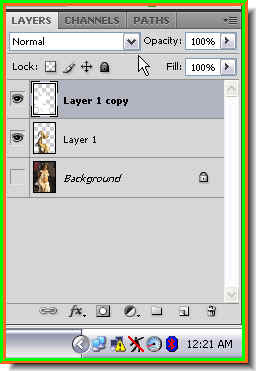 Step 36 : Look in the Layers pallete. The Blend Mode is set to Normal. Click where the arrow points to, it will reveal a popup menu.
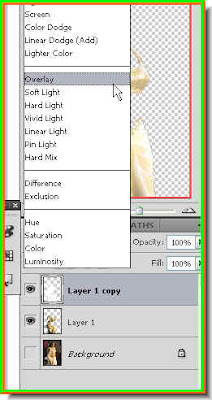 Step 37 : From the popup menu click on Overlay.
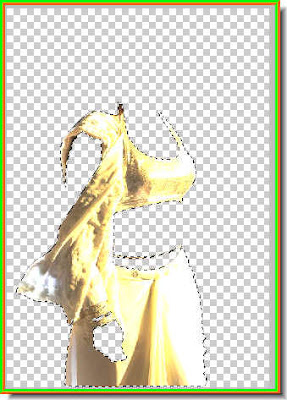 Step 38 : This is how the image looks. Meanwhile, the selection of marching ants still remains. Press CTRL+D to deselect and the marching ants will go away.
 Step 39 : Now click on Layer 1. I was working on Layer 1 copy.
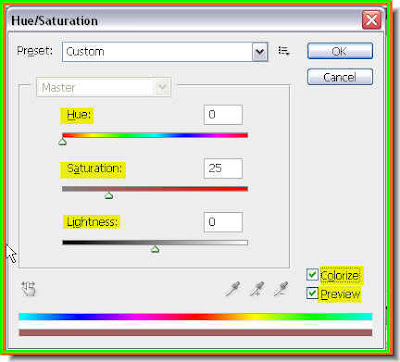 Step 40 : Press CTRL+U. This will bring up the Hue/Saturation dialogue box. By default the 'Preview' is checked. Also check 'Colorize'. The sliders -- Hue, Saturation and Lightness will automatically adjust. Do not click ok.
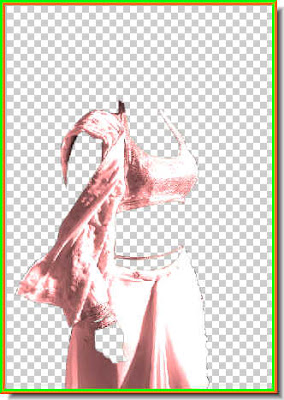
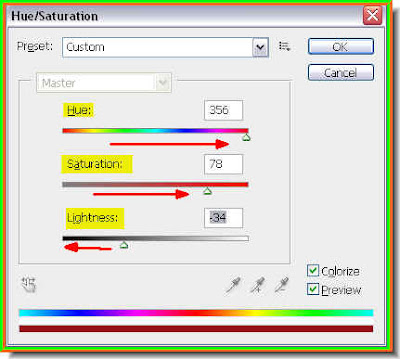
Step 42 : Now drag the Hue slider all the way to the right. The color will turn red. I am using PS CS 4 and I have an advantage that I can see the color I want to change it to. But you can do this in PS7 as well. As you drag the Hue slider from left to right, the colors will change. The Saturation slider when dragged to the right increases the saturation and to the left decreases it. The Lighten slider makes the color darker when dragged to the left and lighter when pulled to the right. When you are satisfied you can click ok.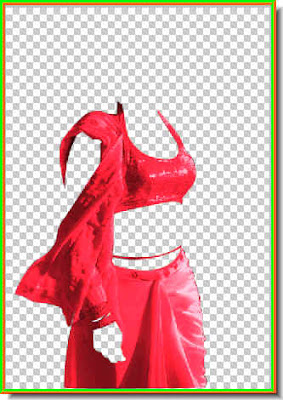
Step 43 : As you drag the Hue, Saturation and Lighness sliders you will be able to notice the changes taking place on your image.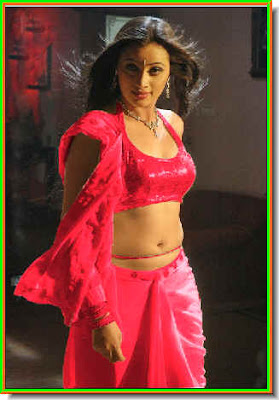
Step 44 : Lastly click back on the Background layer and turn on the eye icon by clicking on it. and, this is the finished image. The White sari has been made red. You can change it to any color you want with the Hue and the other sliders. That is all for now.
No comments:
Post a Comment