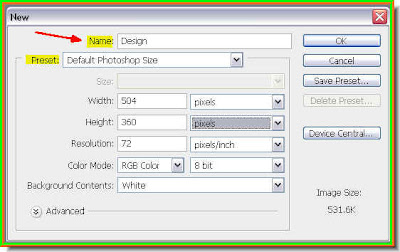
 Step 1 : Open a new document. I have used 'Default Photoshop Size'. you can use this or any other preset. It does not matter. I have named it Design. You can name it anything you wish.
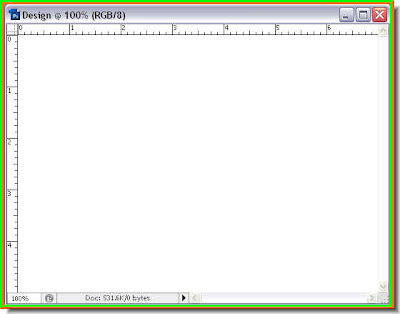
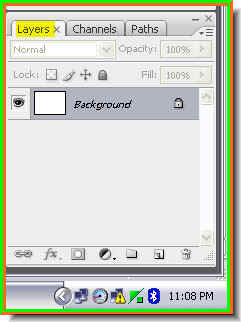
This is how your layer pallette looks after opening the new document.

Step 3 : Make sure Foreground Color is set to Black and Background White, if not press 'X' and then 'D' on your keyboard to set it to the default. Step 4 : Press ALT+BACKSPACE. This will fill the document with the Foreground color, which is Black.
 Step 5 : Go to Filter>Render>Clouds.
 This is how your image looks life after applying Clouds.
 Step 6 : Go to Filter>Pixelate>Mezzotint.
 Step 7 : In The Mezzotint dialogue box click on the dropdown shown and click on Short Strokes.
 This is how the image looks.
 Step 8 : Go to Filter>Blur>Radial Blur.
 Step 9 : In the Radial dialogue box which open, set the Amount to 100, Method to Zoom and Quality to Best. Click ok.
 This is how your image looks.
 Step 10 : Press CTRL+J to duplicate the Layer. Double click the point on Layer1 where the red arrow points to. It will open a small box where you can type in the name of the layer. I have renamed it Design 2. You can name it whatever you wish.
 Step 11 : Click on the bottom layer to select. Remember that a selected layer is always highlighted. When you click on the layer it will be highlighted automatically showing that it is the selected layer or the one you are working on.
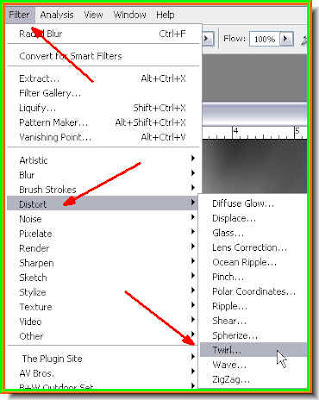
Step 12 : Go to Filter>Distort>Twirl. Step 13 : In the Twirl dialogue box change the Angle to + 166. Type the figure in the box the arrow points to instead of dragging the slider to the right, though you might also do so.
  Step 14 : Click back on the upper layer to select it.
 Step 15 : Again go to Filter>Distort>Twirl.
 Step 16 : In the Twirl dialogue box, set the Amount as -166. Click ok.
 This is how the image looks.
 Step 17 : With the upper layer still selected, click on the Blend Mode and from the popup menu change it to Lighten.
 This is how the image looks.
 Step 18 : Press CTR+U on the keyboard and the Hue/Saturation dialogue box opens.
 Step 19 : By default Preview is checked. Also check Colorize.
 This is how the image looks as soon as you check Colorize.
 Step 20 : Now drag the Hue slider to the right. As you drag the color will change. Note I have dragged the Hue slider till it shows 73. Let us see what this does.
 This is how the image looks.
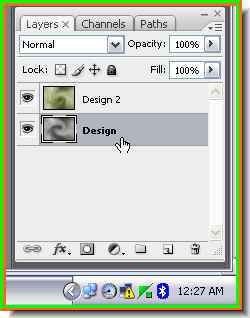 Step 21 : Click on the bottom layer.
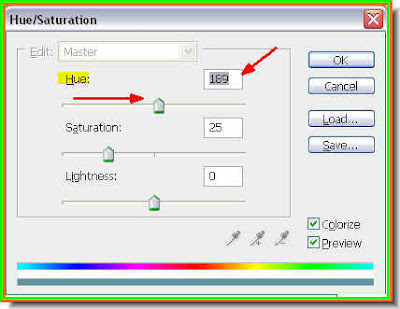 Step 22 : Drag the Hue slider to the right. I have dragged it to 189.
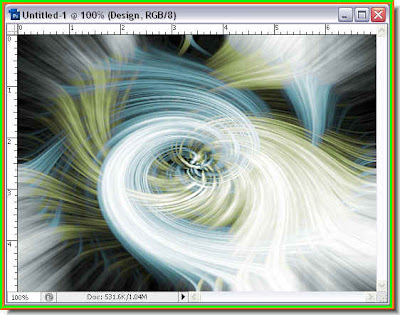 This is the image looks.
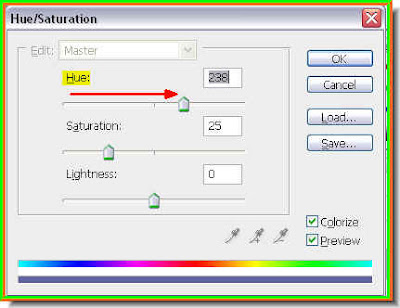
I have dragged the Hue slider further to the right (238)
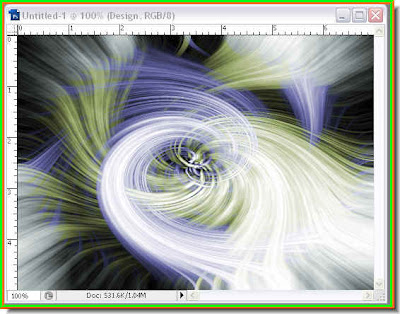
This the effect I have got. Feel free to experiment.
Another effect. Just experiment. That is all.
No comments:
Post a Comment