Styles in Photoshop can be used to give a marvellous efect to text in a jiffy. You do not have to be an expert to apply them and create stunning graphics. Let us first see where the Styles are located in Photoshop.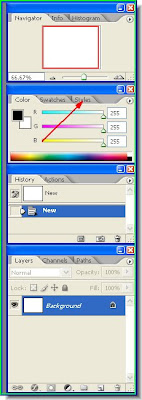 Step 1 : The red arrow points to where the Styles are located on the right of Photoshop.
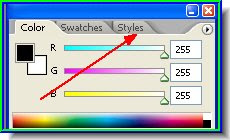
A closer look at where Styles are located.
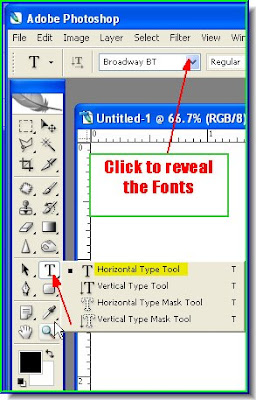
Step 2 : Click the Type Tool. You will find the Font at the top.
 Step 3 : You can see where the Fonts are located. You can set the alignment. I have aligned it to centre. The defaul color of the text is black. You can click the box to bring up the Color picker from where you change the color if you want. I am leaving it at the default black, because when you applying Styles, the color does not matter.
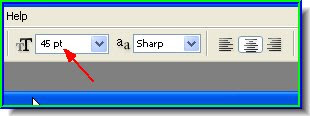 Step 4 : You set the size of the font from here. There is a dropdown box from which you set the font to a maximum of 72 points. But do not bother with it. Just set a value in the box and you will get any size of font.
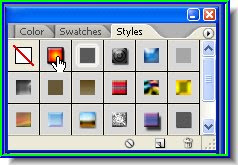 Step 7 : I have clicked on a Style.
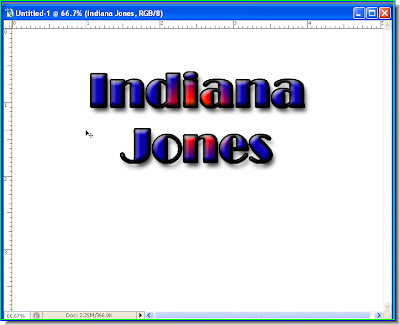 Step 8 : That is all there is to it.
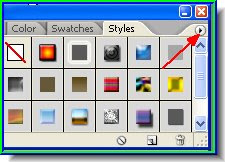 Step 9 : Notice the small black arrow where the red arrow points to. Click it.
Step 1 : The red arrow points to where the Styles are located on the right of Photoshop.A closer look at where Styles are located.
Step 2 : Click the Type Tool. You will find the Font at the top.
Step 3 : You can see where the Fonts are located. You can set the alignment. I have aligned it to centre. The defaul color of the text is black. You can click the box to bring up the Color picker from where you change the color if you want. I am leaving it at the default black, because when you applying Styles, the color does not matter. Step 4 : You set the size of the font from here. There is a dropdown box from which you set the font to a maximum of 72 points. But do not bother with it. Just set a value in the box and you will get any size of font.

Step 7 : I have clicked on a Style. Step 8 : That is all there is to it.Step 9 : Notice the small black arrow where the red arrow points to. Click it.
Step 10 Click the small black arrow and it will reveal a drop down box from which you can set even more Styles. After using Styles always remember to reset it from here. That's all.
No comments:
Post a Comment