
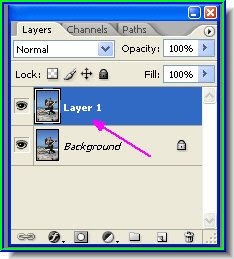
Step 2 : Duplicate the background layer by pressing CTRL+J on the keyboard. The new layer formed is Layer 1. Step 3 : Select the Magnetic Lasso Tool. I prefer using the Pen Tool. But for this tutorial let us work with the Magnetic Lasso Tool. The Magnetic Lasso tool detects and snaps to the edge of an object as you to trace along its outline.
Step 4 : You can see the Magnetic Lasso in action. Click and drag. That is how you go about it. Should you place a dot wrongly, just hit the Delete key, it will remove the offending point. Then continue as before.

Step 5 : When you come back to the point you began clicking a small 'o' forms near the Magnetic Lasso. Click on the last point i.e. the point you began from to complete the selection.

Step 6 : The selection has been completed. You will find a column of 'marching ants' all around the selection.
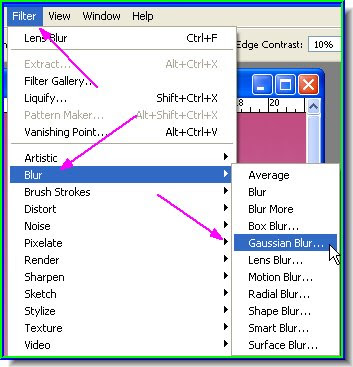
Step 8 : Go To Filter>Blur>Gaussian Blur.
Step 9 : The Gaussian Blur opens. Drag the slider till the edges soften. Click ok.
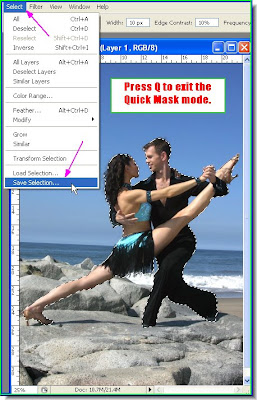
Step 10 : Press 'Q' again on your keyboard to get rid of the Mask. The reddish tinge disappears. Now go to Select>Save Selection.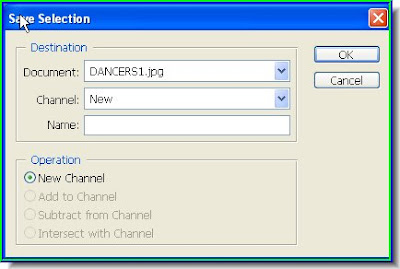 Step 11 : The Save Selection dialogue box opens. Click ok. Now press CTRL+D to deselect. The marching ants disappear.
 Step 12 : Now click on Channels in the Layers/Channels/Paths pallette and the Channels pallette opens. At the bottom you will find your selection has been saved as -- 'Alpha 1'. An alpha channel is a special type of channel used in graphics software for saving selections.
Step 13 : Go to Filter>Blur>Lens Blur.

Step 14 : The Lens Blur dialogue box opens filling up your entire screen. The controls appear on the right.
Step 15 : On top check 'More Accurate'. Set the Source to Alpha 1 from the drop down box (not shown), check Invert and give a Radius of 40. Click ok.

Step 16 : The Lens Blur has been applied. Note the rocks in the foreground and the background has become blurred, while the dancers remain sharply in focus.

Step 17 : Now click back on the Layer pallete in the Layers/Channels/Paths pallette. Lower the Opacity slightly.
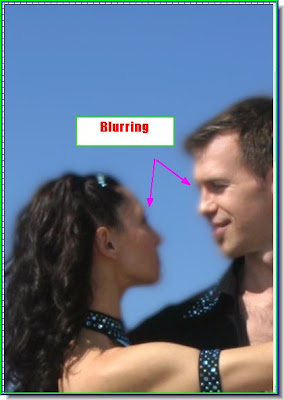
Step 18 : I have zoomed in on the image. Notice that the girl's feature as well as the man's have become blurred towards the edges. This has to be fixed now. Step 19 : Click the Layer Mask icon and a layer mask forms besides the layer thumbnail on Layer 1.
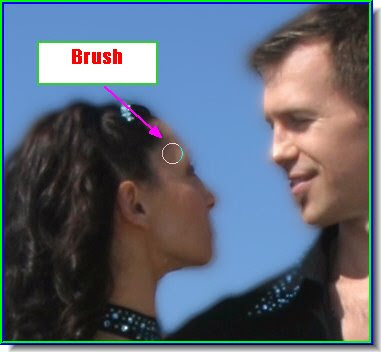
Step 21 : With Brush Tool wipe away the blurry parts. Note you change the size of you brush tip with the Bracket [ ] keys.
Step 22 : Now click on the Layer 1 thumbnail as shown. When the layer thumbnail is selected a small white border apears around it. See above.

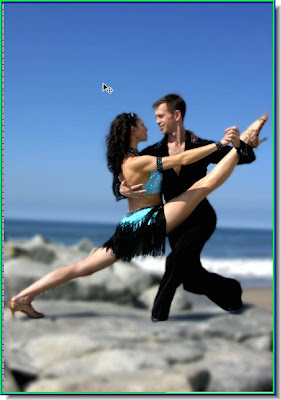
The finished image. Easy was it not. Try it out.
No comments:
Post a Comment