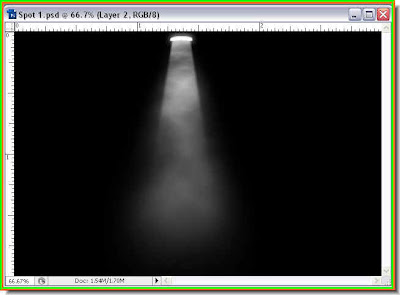
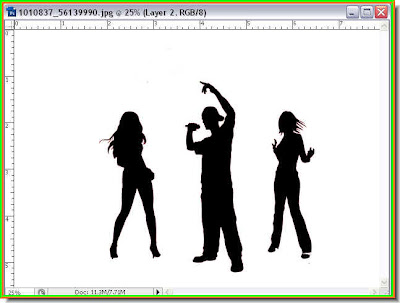
This is how the image looks.
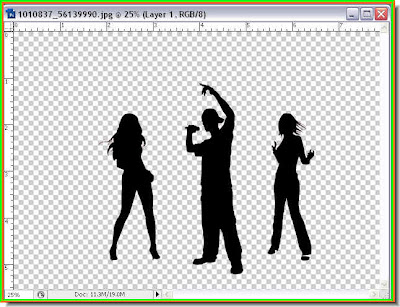
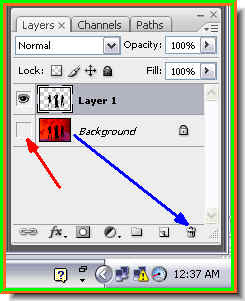
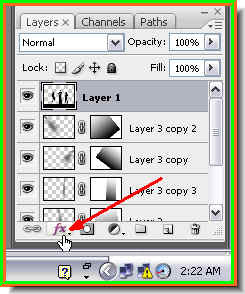
Step : 6 : Click on Layer 1 which contains the silhouette.

Step 7 : Click the Rectangular Marquee Tool to select it.

Step 8 : Draw a selection as shown with the Rectangular Marquee at the bottom as shown.

Step 9 : Make sure that your Foreground Color is set to Black. Press ALT+BACKSPACE. The selection fills with Black.
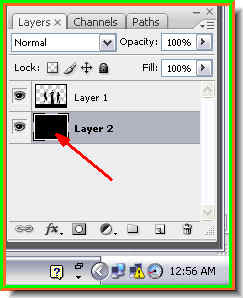
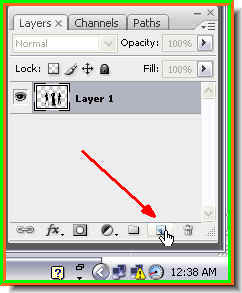
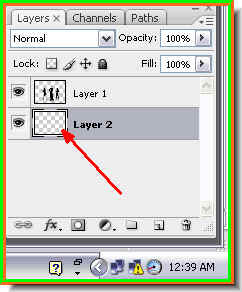
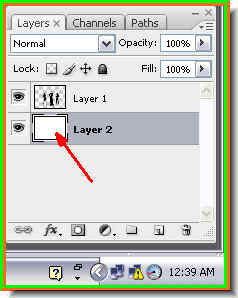
Step 10 : Click back on Layer 2. Press ALT+BACKSPACE. The Layer fills with the Foreground Color which is Black.
This is how the image looks.
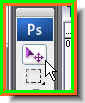
Step 11 : Click the Move Tool to select it.
Step 12 : Drag the spotlight onto the other image i.e. the one filled with Black.

Note that the spotlight layer lands above Layer 2 or the one filled with Black and below the layer containing the silhouette of the band.

There you can see the effect of the spotlight.
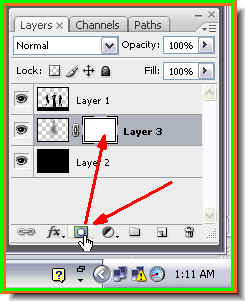
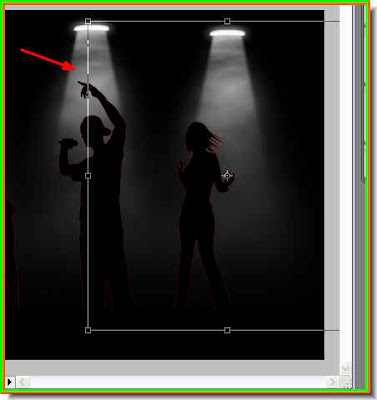
Step 13 : Click the Add Layer Mask button and a Layer Mask forms next to the Layer Thumbnail on Layer 3 i.e. the spotlight layer.
Step 14 : Click on the Gradient Tool.

Step 15 : Keeping the SHIFT key pressed drag the Gradient Tool upwards. You will able to drag it up straight from the bottom to top because you are keeping the SHIFT key pressed.

Step 16 : The spotlight fades at the bottom and looks more natural.
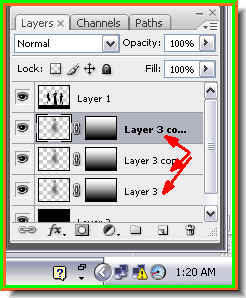
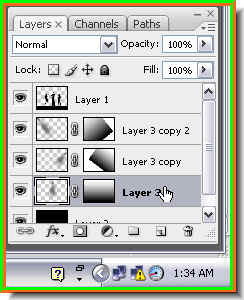
Step 17 : Now with Layer 3 highlighted press CTRL+J twice. This will make two more copies of the layer. See above. What in fact you have done is make two more copies of the spotlight. Step 18 : Click on the Move Tool again.

Step 19 : Now use the Move Tool to shift one of the spotlights to the left i.e. Layer 3 copy 2.

Step 20 : Click on Layer 3 Copy 2 to select it.

Step 21 : Now with the Move Tool move the spotlight on this layer to the right as shown above.
Step 22 : Press CTRL+T and a selection appears around the spotlight.
Step 23 : Hover your cursor near a corner and a small bent double headed arrow appears. You can rotate the selection with the bent arrow by dragging it right or left.

Step 24 : Rotate the selection by dragging the bent arrow as shown. Once you are satisfied about the positioning of the spotlight, press Enter to commit the selection.

Step 25 : Click on Layer 3 copy 2 to select it.

Step 26 : Rotate the other spotlight in exactly the same way then press Enter.
Step 27 : Click on Layer 3 to select it.
Step 28 : Now the spotlight at the centre has been selected. Press CTRL+T. A selection appears. Use the Move Tool to drag the selection inwards a bit to make the beam appear narrower and then rorate it. But then it is up to you how you wish the spotlights to appear.

All the three spotlights have been repositioned. Note that they are at different angles as spotlights usually are.
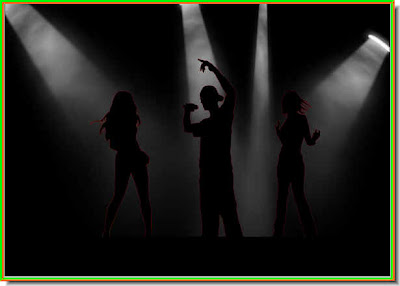
I have added another spotlight in exactly the same way.
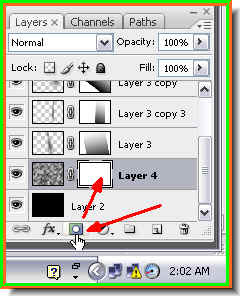
Step 29 : Click on the bottom layer i.e. Layer 2.

Step 30 : Press SHIFT+ALT and click the New layer icon and new layer -- Layer 4 -- forms just above it.

Step 31 : Go to Filter>Render>Clouds.

This is how the image looks.
Step 32 : Click the Add Layer Mask button and a Layer Mask forms besides the Layer thumbnail on Layer 4.

Step 33 : Click on the Gradient Tool.
Step 34 : Drag with the Gradient Tool from the top to the bottom.

This is how the image looks.
Step 35 : Click on the Add Layer Styles button.
Step 36 : From the pop up click on Bevel and Emboss.

Step 37 : In the Bevel and Emboss dialogue box drag the Opacity Slider of the Shadow Mode to zero %. Uncheck the Use Global Light and change the Angle to 90 degrees. Lower the Size to 2 pixels. Click ok.

Now the silhouettes have light from the spotlights reflecting on them.
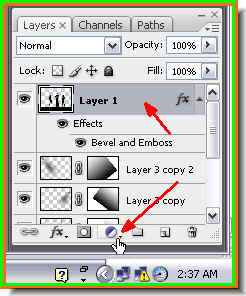
Step 38 : Click the New Adjustment Layer button.

Step 39 : Click on Solid Color from the pop up.
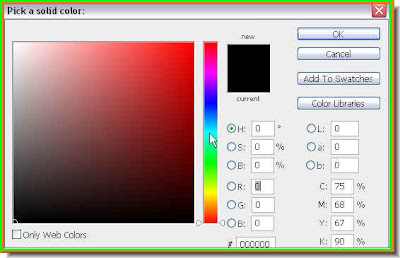
Step 40 : The Pick A Solid Color dialogue box appears. Click on the Spectrum in the middle to choose a color.

Step 41 : I have chosen a dark blue. You can choose any color you like.

By the way this is how the Layers pallette looks right now. The Adjustment layer sits over the silhouette layer.
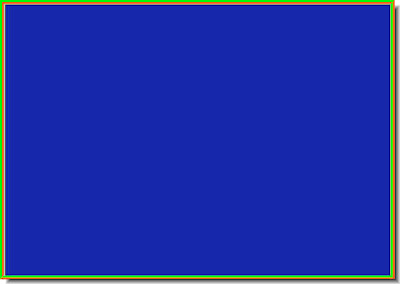
This is how the image looks.
Step 42 : Now change the Blend Mode of the Layer to Overlay.

This is the finished image.

Since the spotlights are each on their own individual layer, you can still move them around by clicking on the particular layer then using the Move Tool to move it around.

I have moved the spotlights yet again. That is all.
No comments:
Post a Comment