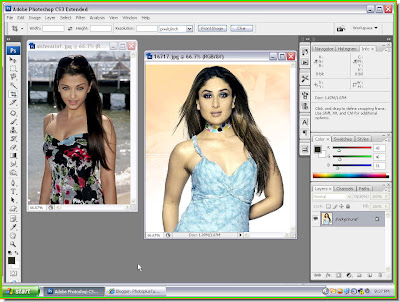
Step 1 : I have opened two photos of these two bollywood actresses for the face swap.

Step 2 : Click on the Zoom Tool to select it. After clicking on the Zoom Tool look at the top panel. You will find two magnifying glass like icons with a + (plus) and a - (minus) sign. They are to make the image bigger (zooming in) or smaller (zooming in).
 Step 3 : I have placed the Zoom Tool (with the plus sign) on the face to zoom in (make it larger).
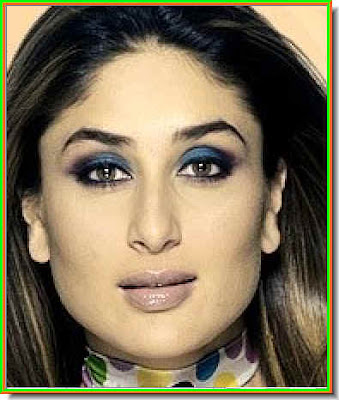
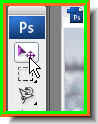
Step 4 : I have zoomed in on the image. Step 5 : Click on the Magnetic Lasso to select it from the flyout. I personally find the Pen Tool of much greater precision. We need to make a selection. The Pen tool is very precise, while the Magnetic Lasso is not. But we will be using the Magnetic Lasso for now.
 Step 6 : I have clicked once with the Lasso Tool. You can begin anywhere. I will click only on the face to select it.
 Step 7 : Just click and drag to place the points. If you place a point wrongly, just hit the DELETE key on your keyboard. It will remove the last point. Then continue as before.
Step 8 : I have clicked all around the face and come back to my first point. When I click it, it will change into a selection.
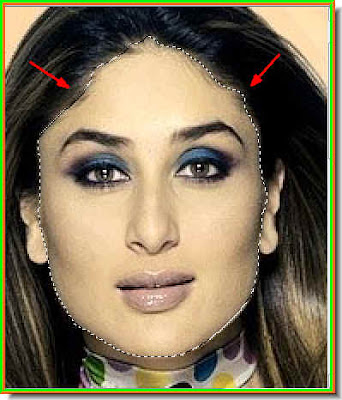
Step 9 : The selection has formed. Step 10 : I have now clicked on the other image to select it.
 Step 11 : Press CTRL+A (Select All), then CTR+C (Copy). Then you can minimise the image. We will not be needing it.
 Step 12 : Now click back on the first image to select it.
 Step 13 : Go to Edit>Paste Into. The Paste Into command is normally not visible and is grayed out. But in this case you will be abe to use the Paste Into command. Click it.
Step 14 : The second image has been Pasted into the first one. It is not in the right place and has to be repositioned.
Step 15 : Click the Move Tool to select it. Step 16 : Zoom out. You will now be able to notice a selection is visible. It is the outline of the image.
Step 17 : Drag the selection outwards and stretch the image till the face fits in. Press Enter to apply the transformation.
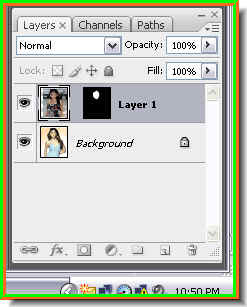
This is how the Layers pallete looks like. Click on the Background
Step 18 : Go to Image>Adjustments>Match Color. (This is only found in PS CS 2 and above) Those who are using PS 7 need not despair. I will show you in just a moment how it can be done in it too.
Step 19 : The Match Color dialogue box opens. You can see the Background image in the preview window. Click the Source.

Step 20 : From the dropdown in Source click on the other image.

Step 21 : Check the Use Selection in Source to Calculate Colors. Check the Neutralize. Now drag the Fade slider to the left, while keeping an eye on your image. When you are satisfied that the colors of the two photos have been 'matched' click ok.

The finished image. A word of caution. You can only do this if you have similar images and the complexions are nearly the same. If you have dissimilar images, this will not work. Now let us assume you are working on PS 7.
Click on Layer 1 and on the Layer thumbnail to select it.
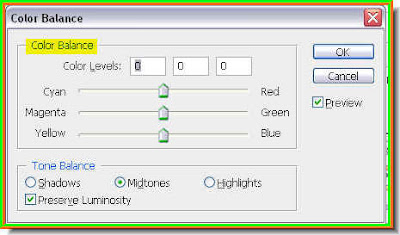
Press CTRL+B to bring up the Color Balance dialogue box. Click on Midtone. Since there is more yellow in the other image, drag the Yellow slider to the left while keeping an eye on the image.
Do the same with Highlights. This is just an example. For other photos you may need to tinker with the other sliders. See which color you have to match. Click ok when satisfied.

This looks much better.
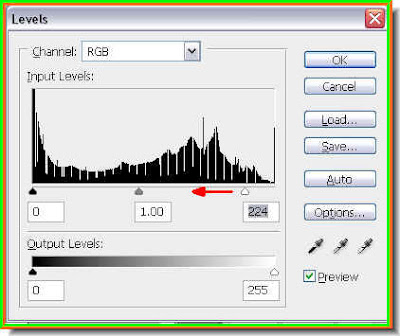
Press CTRL+L. This will bring up the Levels dialogue box. Drag the White slider at right to brighten the face. Click ok when you are satisfied.
The finished image. The face has been swapped.
No comments:
Post a Comment