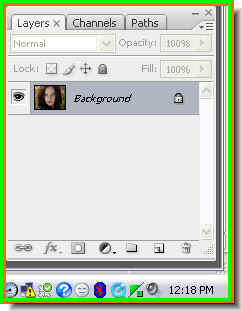
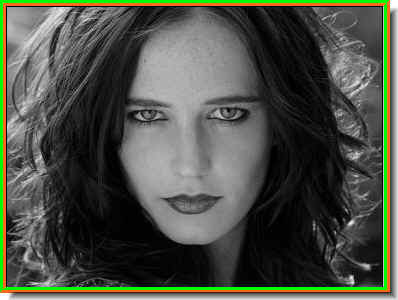
Step 2 : This is how the Layers pallette looks after opening the photo.
Step 3 : Double Click the Background.

Step 4 : The New Layer dialogue box opens. Click ok.

Step 5 : The Background changes to Layer 0.
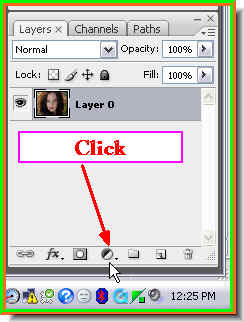
Step 6 : Click the button shown at the bottom of the Layers pallette. It is the New Fill or Adjustment Layer button.
Step 7 : As soon as you click the button a popup appears. Click on Channel Mixer.
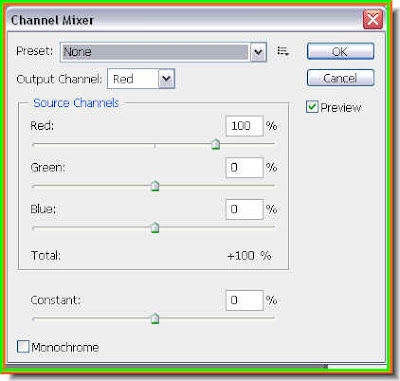
Step 8 : The Channel Mixer dialogue box opens.
Step 9 : Check the Monochrome. Notice that the Red and Green sliders move to 40% and the Blue to 20%. The important thing is that the value of the channels total 100. You can move the sliders to adjust the black and white, but it should add upto 100%. Anything more or less will make the photo unnaturally dark or light. So remember this point if you you want to change the custom settings.
Step 10 : The image has changed into Black & White. Step 11 : Since we are using Adjustment Layers, the Channel Mixer is on a separate layer above the layer with the photo of the girl, which is Layer 1.
 Step 12 : Click the New Fill and Adjustment Layer button again.
Step 13 : Now click on the Color Balance.
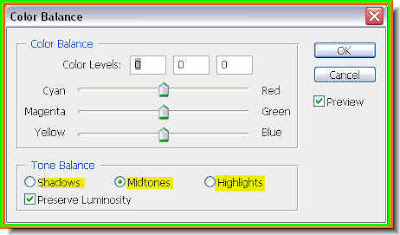
Step 14 : The Color Balance dialogue box opens. Note the the Shadows, Midtones and Highlights. Also note that the three sliders are exactly in the middle. If you drag the firt slider to the left you will get more Cyan and to the right more red. Similarly, if you drag the seond slider to the left you will get more Magenta and to the right more Green. If the you drag the third slider to the left you will get more Yellow and more Blue if you drag it to the right.
Step 15 : I have clicked on the Highlights.
Step 16 : I have dragged the third slider to the left till the value changes to -25 so it will add a yellow tint.

Step 17 : The photo has acquired a yellow tint.
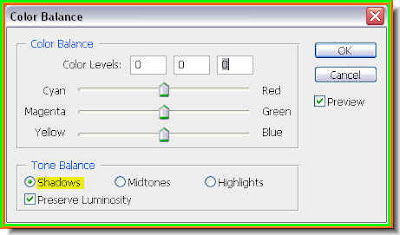
Step 18 : Now click on the Shadows.
Step 19 : I have now changed the value of the Red to +30. Click ok. Remember that the values I have used are not absolute. It will depend on the effect you want. So, feel free to experiment with the sliders.
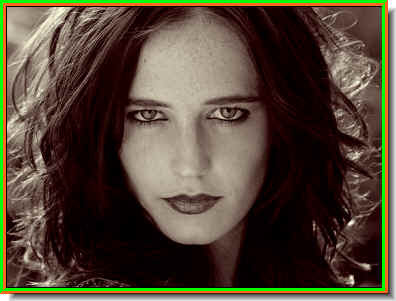
And, this is the Split Toning effect. That is all. Try it out. Lastly, this how you Layers pallette looks. The Color Balance layer is on top as we used it the last. It is above the Channel Mixer layer, which above the photo of the girl in Layer 1. Since these are adjustment layers, the actual photo has not been affected. If ytou click off the eye icon on the Color Blance and Channel Mixer layers, you will be able to see the original photo.

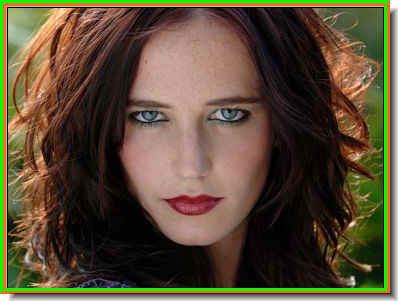
I have clicked off the eye icons on the Color Balance and Channel Mixer layers and the original photo is revealed.
No comments:
Post a Comment