Suppose you need to create a background and text in a jiffy, but you do not have much time on your hands, you can do it with this tutorial.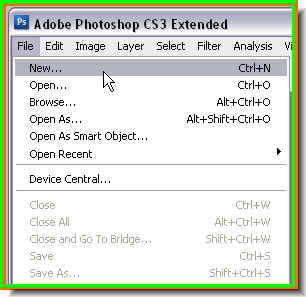
Step 1 : Go to File>New.
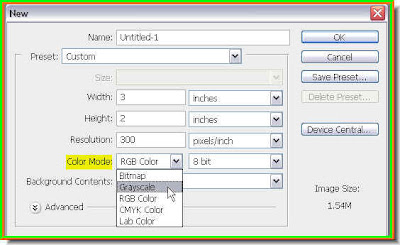 Step 2 : When the New Layer dialogue box opens change the Color Mode to Grayscale from the drop down. Click ok.
 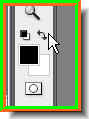 Step 3 : Make sure that the Foreground is set to Black and Background to White. It is the default setting. If it is not press 'X' then 'D' on the keyboard to set it to the default.
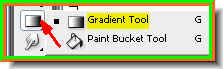 Step 4 : Click the Gradient Tool.
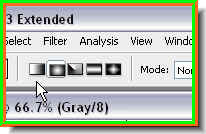 Step 5 : Click the Linear Gradient.
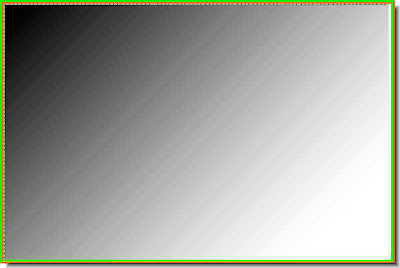
Step 2 : When the New Layer dialogue box opens change the Color Mode to Grayscale from the drop down. Click ok. Step 3 : Make sure that the Foreground is set to Black and Background to White. It is the default setting. If it is not press 'X' then 'D' on the keyboard to set it to the default. Step 4 : Click the Gradient Tool. Step 5 : Click the Linear Gradient.Step 6 : Drag from the top left hand corner to the right bottom corner with the Gradient Tool and you will get this effect. You can drag any direction you please also. In that case you will get a different effect. It does not matter. It will do as well.
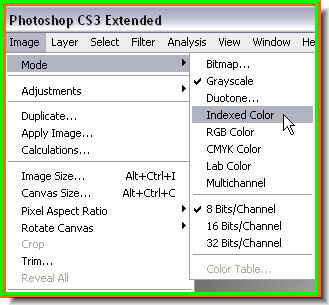
Step 7 : Go to Image>Mode>Indexed Color as shown.
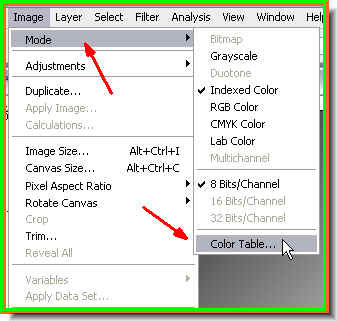 Step 8 : Go to Image>Mode>Color Table.
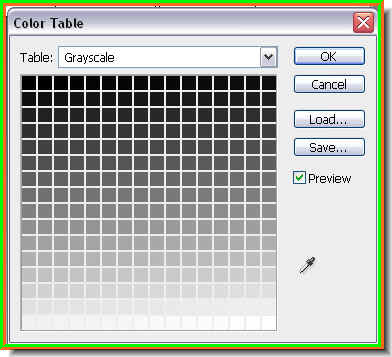 Step 9 : You will find this dialogue box opens.
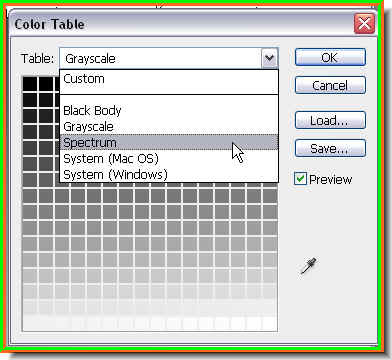 Step 10 : From the dropdown box click on Spectrum.
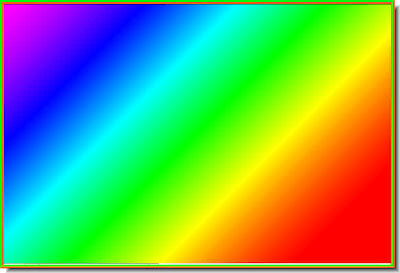 Step 11 : This is the effect you get, which you can use for a background.
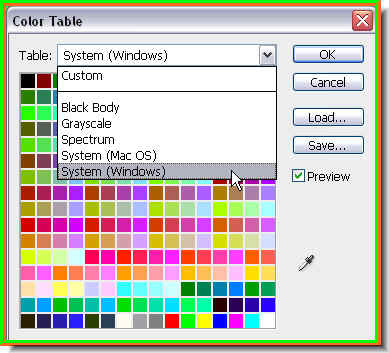 Alternately you can click on System (Windows).
 This the effect you get. You can also use this for a background. Click ok.
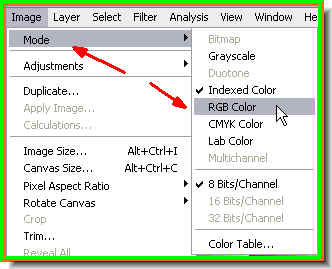 Step 12 : Now again go to Image>Mode>RGB Color.
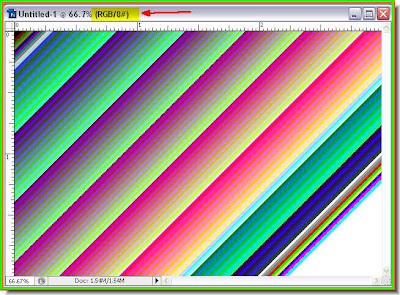 Look at the top of the image, it now says RGB.
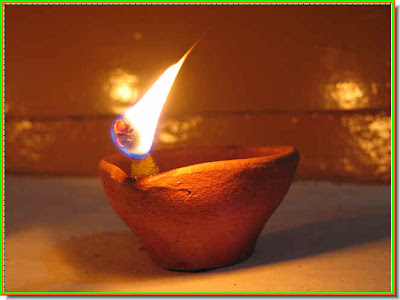 Step 13 : I have now opened this photo.
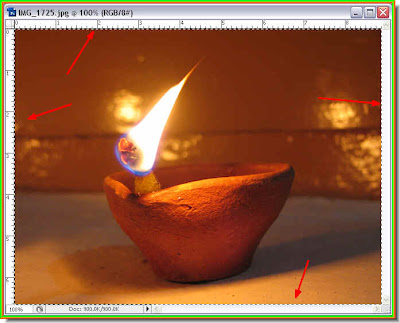 Step 14 : Press CTRL+A (Select ALL), then CTRL+C (Copy). Minimise the photo. We will not need it again.
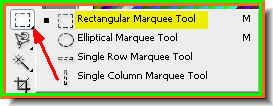 Step 15 : Click the Rectangular Marquee Tool to select it.
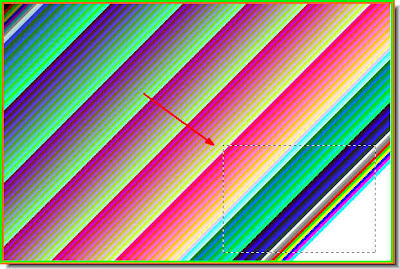
Step 16 : Draw a selection anywhere on the Background you like with the Rectangular Marquee. I have drawn it at the right bottom.
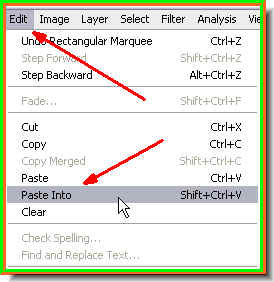 Step 17 : No go to Edit>Paste Into.
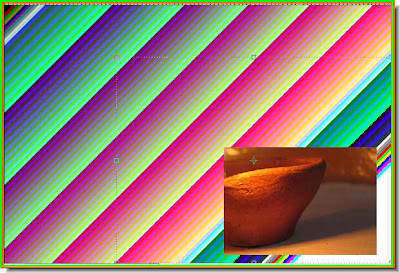 Step 18 : Yo will find your image has been 'pasted', though not exactly as you want it.
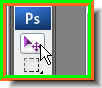 Step 19 : Click the Move Tool.
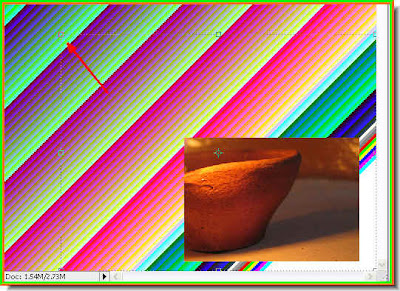 Step 20 : Note that you can see a faint selection with corner handles.
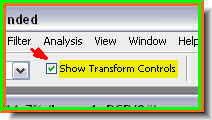 If you cannot see it, then you should ensure that Show Transform Controls in the top panel is checked. If not check it. In Photoshop 7 it is called Bounding Box and is found in the same place.
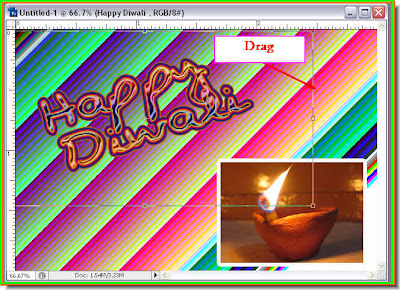
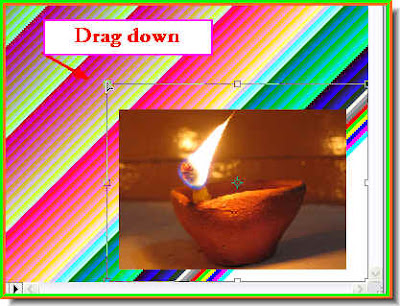 Step 21 : Press SHIFT+ALT and drag down a corner handle till the photo is repositioned as you want it. Press Enter to apply the transformation.
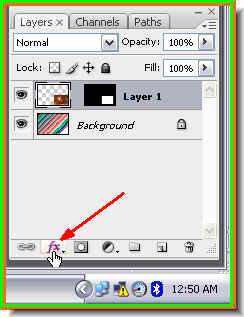 Step 22 : Click the Add Layer Style button. It looks a bit different in PS 7 but is found in the same place.
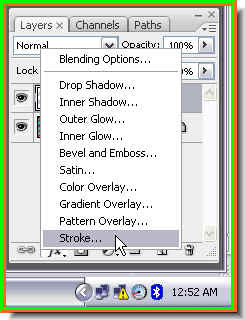 Step 23 : From the popup menu click on Stroke.
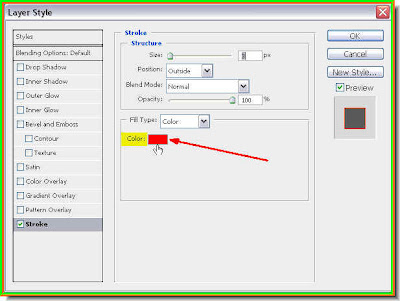 Step 24 : The Stroke dialogue box open. Click on the small Red square.
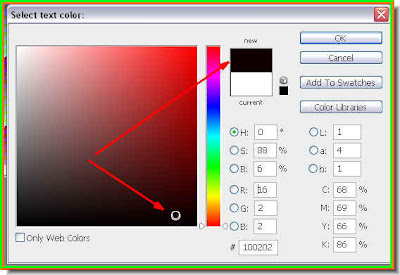
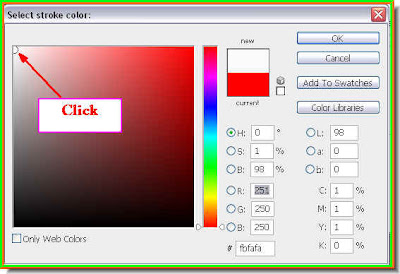 Step 25 : The Select Stroke Color dialogue box opens. Click on the White as shown by the arrow and click ok.
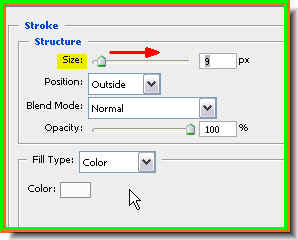 Step 26 : Clicking ok in the Select Stroke Color dialogue box will return you to the Stroke dialogue box. Adjust the Size slider for the amount of thickness you want the Stroke to be.
 The Stroke has been applied. It looks like a white border.
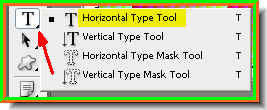 Step 27 : Click on the Type Tool and select the Horizontal Type Tool.
Step 28 : On the top panel where the white arrow points to click to reveal the Fonts available and can select one you like. Also on the top panel on the right you can set the size of the font by putting a value in the Points box.
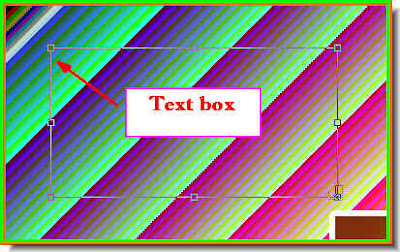 Step 29 : Draw out a Text box with the Type Tool. This is where the Text will go in.
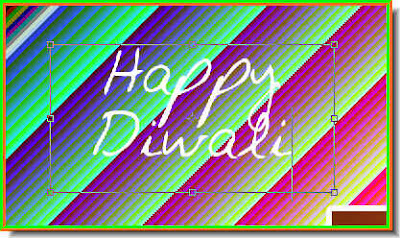 Step 30 : I have typed out my Text. Now you may be wondering how my text is appearing in White, when yours is appearing in Black. I forgot to show you one thing.
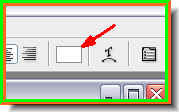 Step 31 : In the top panel you will find a small box which is by default Black (red arrow). It is appearing as White because I have changed the text color. You can do so do.
Step 32 : When you click the box the Select Text Color box appears. The colors in the middle is called the Spectrum. Note the slider at the bottom. You can push it up and down the Spectrum to select the color.
Step 33 : I have clicked on the Black at the bottom. Note that 'New' on top changes to Black instantly or what ever color you click on.
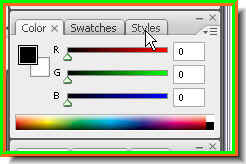
Step 34. Do not bother with the color of the text. We will be using something else. Click on Styles on the right panel.
 Step 35 : The Styles dialogue box opens. Look where the red arrow points to. Clicking that tiny black arrow will reveal a drop down and many more Styles.
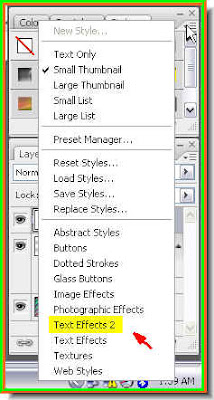
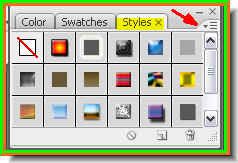
Step 36 : Clicking on the tine Black arrow will reveal this menu which shows the other Styles. I wish to pick Text Effects 2. Click it.
Step 37 : As soon as you click on a Style, this dialogue box opens. Click Ok.
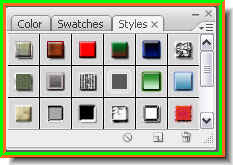
Step 38 : This is the Text Effects 2 Styles.
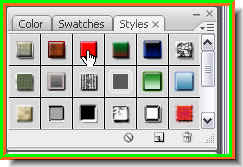 Step 39 : I have clicked on a particular Style.
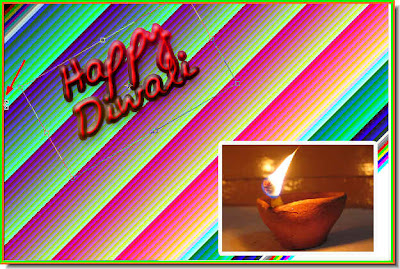
Step 40 : This is how the Text looks like. You can experiment with the other Styles and apply them according to your choice.
Step 41 : Click the Move Tool shown earlier. A selection will appear around the Text. Hover your cursor on a corner and a smalldouble headed bent arrow will appear. You can use it to rotate the Text to your liking.
The Text after rotating.
 Step 42 : If you do not like a particular Style you can always change it. I have now clicked on Text Effects. I had earlier chosen Text Effects 2.
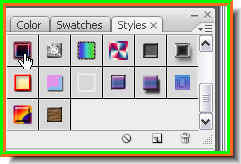 Step 43 : I have now clicked on this Style.
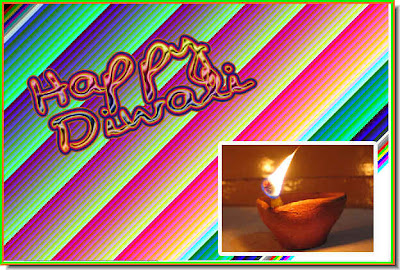
This is how my Text looks like now. You can change it at will.
Step 44 : Click the Move Tool. A selection appears around the Text. Drag the selection to make the Text larger if you want to.
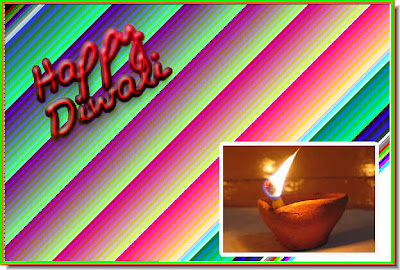
The completed image. Try it out. It is easy enough.