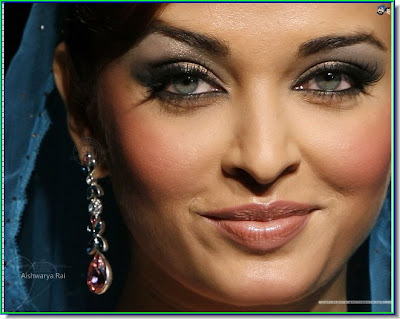
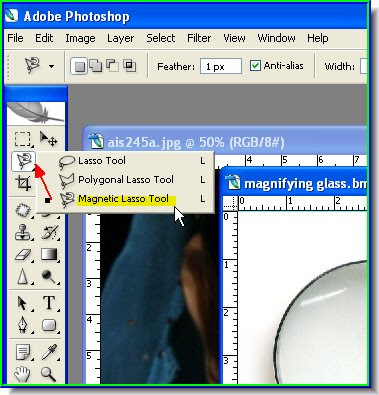
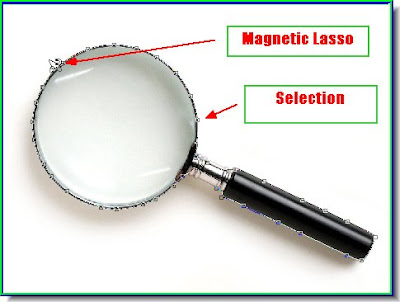
Step 4 : The Magnifying glass has been selected with the Magnetic Lasso. Just click and drag to make the selection with the Magnetic Lasso. If you set a point wrongly, just hit delete to delete the last point and continue. Since the background of the magnifying glass is white you can also use the Magic Wand Tool to select.
You can also use the Pen Tool.

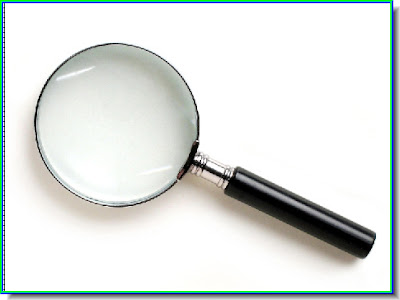
Step 5 : Here is the selection with the Magnetic Lasso.

Step 6 : In the Layers/Channels/Paths pallette double click the Background. It will open the New Layer dialogue box (seen at left). Click ok.

Step 7 : Press CTRL+SHIFT+I on your keyboard to inverse the selection. See above.
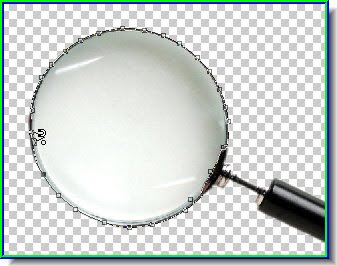
Step 8 : Press Delete key. The background will be deleted. Press CTRL+D to deselect.
Step 9 : Now select the inside of the magnifying glass with the Magnetic Lasso.
Step 10 : The inside of the glass has been selected.

Step 11 : Hit the DELETE key. The glass disappears. Press CTRL+D to deselect.
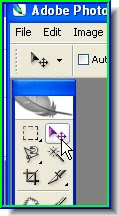
Step 12 : Select the Move Tool.
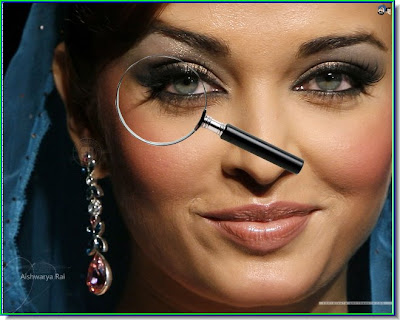
Step 14 : Position the magnifying glass wherever you like on the other image.
Step 15 : Select the inside of the glass with the Magnetic Lasso or Pen Tool.
Step 16 : In the Layers/Channels/Paths pallete click on the Background to select it. Step 17 : Go to Filter>Distort>Spherize.
 Step 18 : The Spherize dialogue box opens. Set the Amount to 100 % and the Mode to Normal. Click ok.
 The effect has been applied.
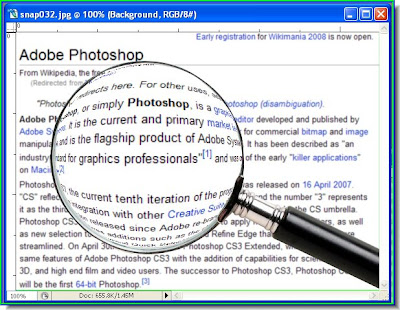
 Here is how it looks.
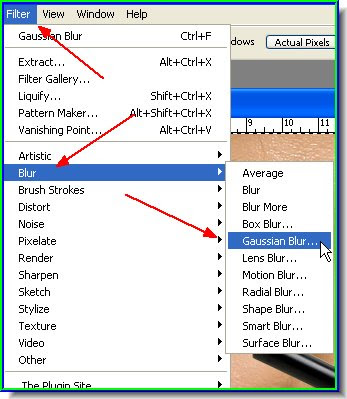
Step 19 : Press CTRL+SHIFT+I to invert the selection then go to Filter>Blur>Gaussian Blur.

The same effect added to text. Try it out for yourself.
No comments:
Post a Comment