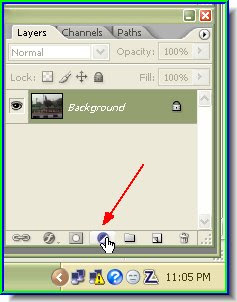
Step 2 : In the Layers/Channels/Paths pallette click the New Fill or Adjustment layer by clicking the icon shown.
Step 3 : From the popup click on Levels.
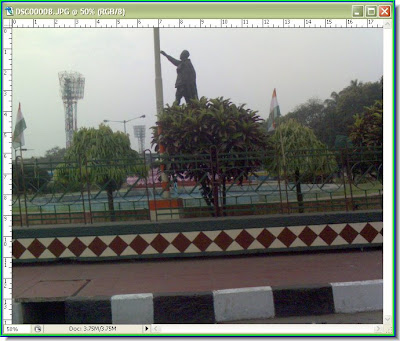
 Step 4 : The Levels dialogue box opens up. Click ok without changing any setting.
Step 5 : The Levels 1 Layer is now visible in the Layers/Channels/Paths pallete.

Step 6 : Change the Blend Mode from the pop up to Overlay.

Step 7 : The Blend Mode is now set to Overlay.
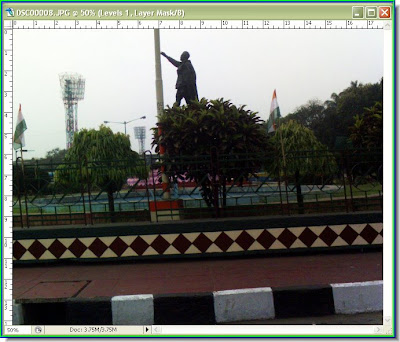
Step 8 : The same photo has changed. The color is better and so is the contrast. Step 9 : Press CTRL+J on the keyboard. A new duplicate layer -- Layer 1 Copy forms.
Step 10 : The color has become darker and the contrast is now much greater.
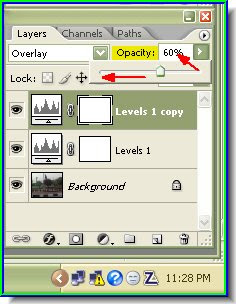
Step 11 : Reduce the Opacity of Levels 1 copy to 60 %.
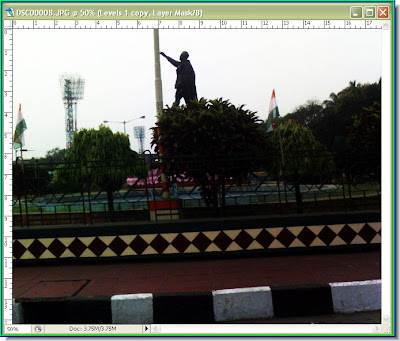
Step 12 : The completed image. Try it out.
No comments:
Post a Comment