
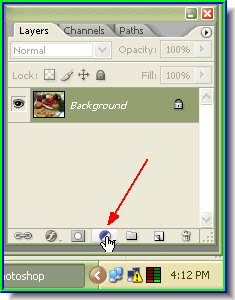
Step 2 : In the Layers/Channels/Paths pallete, click the Create New Fill or Adjustment button shown.
Step 3 : From the popup click Curves.
 Step 4 : The Curves dialogue box opens. Click to point as shown.
Step 5 : In the Layers/Channels/Paths pallette the curves adjustment layer becomes visible.
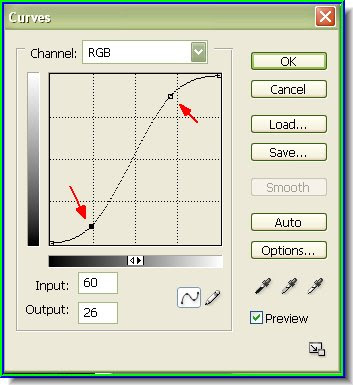
Step 6 : Now drag the diagonal in the middle into an 'S' shape as shown above.

Step 7 : The contrast has increased, but so has the saturation.
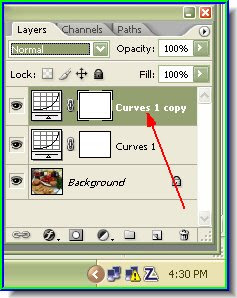
Step 8 : Press CTRL+J on the keyboard and this will duplicate the Curves 1 Layer and form a new layer above it.
Step 9 : The contrast has become too high so has the saturation.
Step 10 : Change the Blend Mode from the popup to Luminosity. Reduce the Opacity to 50 %.

Step 11 : The image now has better contrast, without much change in the color. You can also omit Steps 8 and 9 depending on your image. Then after Step 7 change the Blend Mode to Luminosity.

 This another before and after photo treated with the Blend Mode set to Luminosity. Look at the HP signboard and the rear wheel of the car on the top and bottom. You can notice the difference.
That is all.
No comments:
Post a Comment