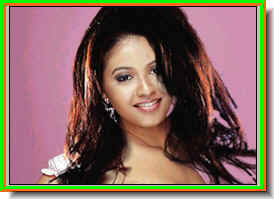
Step 1 : This is the image that I have opened. Choose a photo that has both light and dark areas such as this one. The text will not work with a light colored image or just a plain single color background.

Step 2 : Click the Type Tool.

Step 3 : I have typed in 'Through The Looking Glass' as the Text in the Text Box. You can type in whatever you want.

Step 4 : Click the Tick Mark in the top panel at right to commit the Text.

This is what the Layers pallette looks like -- the Text above the Background layer.

This is how the photo looks.
Step 5 : Press CTRL+ALT and click the New Layer button. This will form a new layer directly beneath the current layer, which is highlighted.

Step 6 : This popup apears. Click ok.

Step 7 : The new layer has formed below the Text layer, which is the current layer.

Step 8 : Make sure the Foreground Color is set to Black and Background to White. If not, press X then D on your keyboard. It will set it to the default.
Step 9 : Press ALT+BACKSPACE to fill with the Foreground Color which is Black.

Step 10 : The layer filled with Black.

Step 11 : Right click the Text layer and click Rasterize Text.
Step 12 : The Text has ben rasterized. Now CTRL+Click on the layer thumbnail of the Text Layer.

Step 13 : A selection of the text forms.

Step 14 : Now press CTRL+BACKSPACE to fill the selection with the Background color which is white. Press CTRL+D to deselect.

Step 15 : Go to File>Save As
Step 16 : The Save as dialogue box opens. I will save the file in My Pictures. Save as a psd file.

Step 17 : In the Save as dialogue box check 'As A Copy' and uncheck 'Layers'.

Step 18 : Now click of the eye icons of the Text layer and Layer 1 and click on the Background layer.

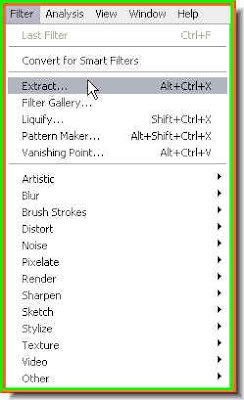
Step 19 : Go to Filter>Distort>Glass.
Step 20 : The Glass dialogue box opens.

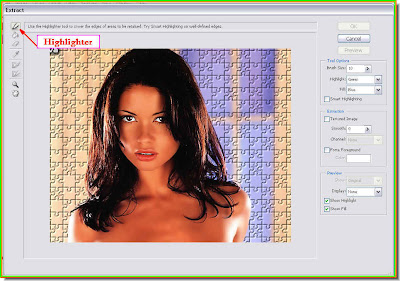
Step 21 : The controls of the Glass Filter are on the right as shown above. Click the button where the white arrow points to and the 'Load Texture' appears.

Step 22 : The Load Texture dialogue box opens. You can find the psd file there. I can see the psd file I saved (look at the white arrow).

Step 23 : I have set the Distortion at 9 and Smoothness at 2. There is nothing hard and fast about it. It will depend on your image. Sometimes checking the Invert also helps. Here I do not need to check it. Leave the Scaling unchanged at 100%.

You can see the effect as you drag the Distortion and Smoothness sliders. Click ok after you are satisfied.
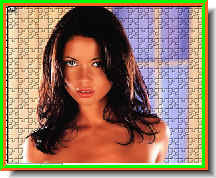
The finished Glass Text.
 Step 6 : Use the Hand Tool to scroll the image and magnifying glass to zoom in.
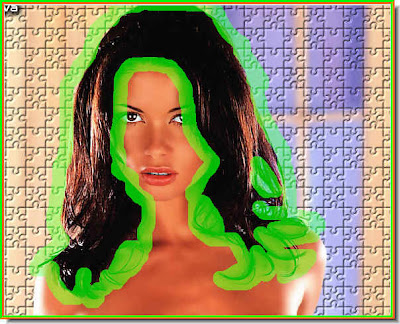


 Step 12 : Click the Zoom Tool.
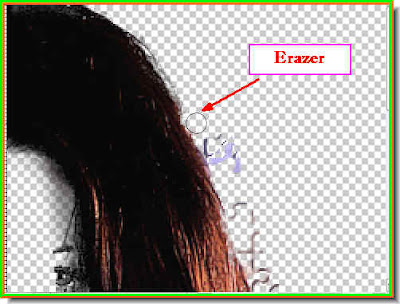
 Step 13 : Zoom in on the image. You will notice that the Extract Tool has left behind bits and pieces which will have to be removed with the Erazer Tool.


 Step 17 : Some more erazing to the right.
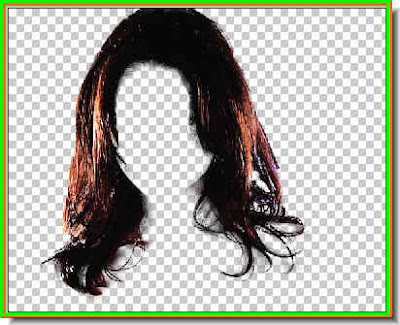
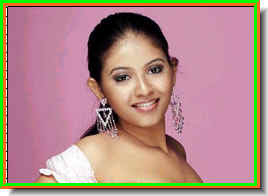
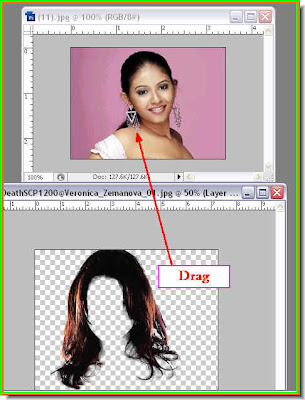 Step 19 : Now drag the extracted hair onto the other girl's image.
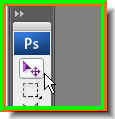


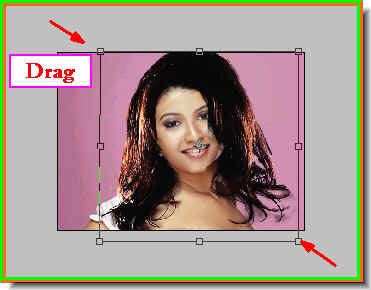 Step 23 : Press ALT and drag diagonally to resize the hair to fit. But sometimes it does not as is the case here.
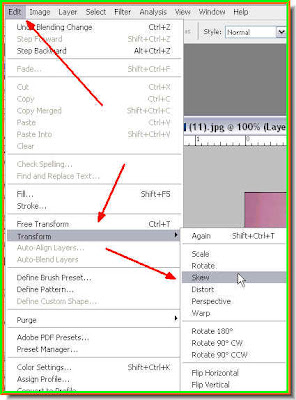 Step 24 : Go to Edit>Transform>Skew.
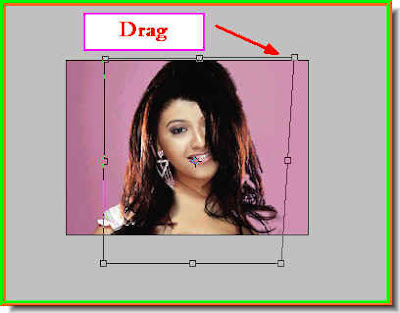

 The hair now fits better.
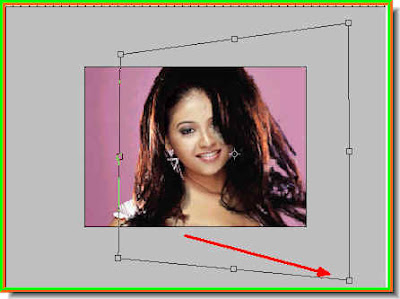


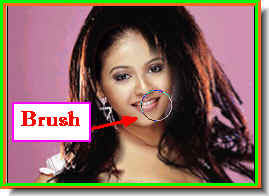
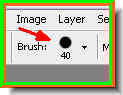 A word about the Brush Tool. To make the tip larger use the right ] key, to make it smaller use the left ] key. To soften the brush press SHIFT+[ and to make it hard press SHIFT+] key. The brush is set to a hard tip. See on the top panel at left.