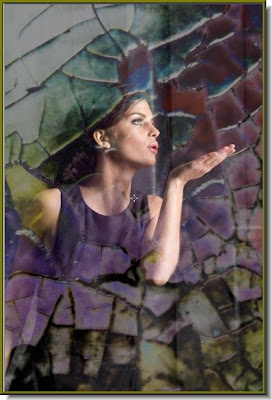
You can add a stream of light to a sunrise or sunset for a superb effect to your photos. This can be done in just a few steps and in any version of Photoshop.
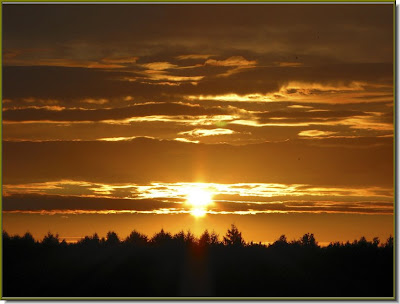
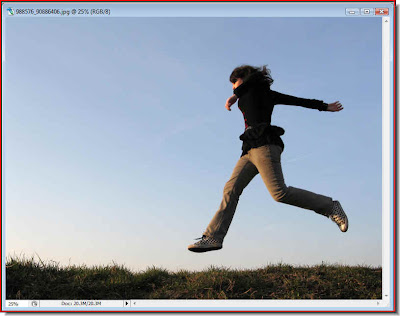
Step1 : I have opened this photo in Phooshop. A photo like this is best for the effect I have in mind. Choose a similar photo.
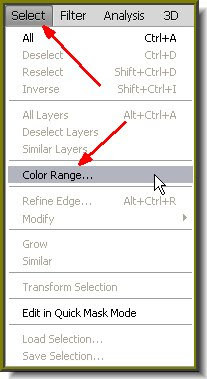
Step 2 : Go to Select>Color Range.
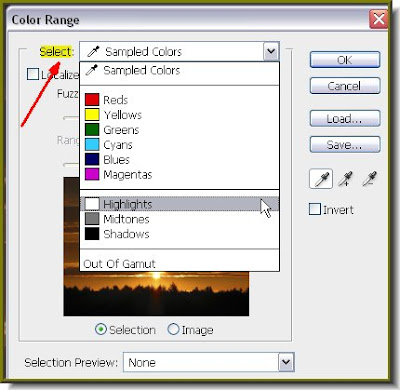
Step 3 : In the Color Range dialogue box click on Select to reveal a dropdown menu. Select Highlights from it. Click ok.
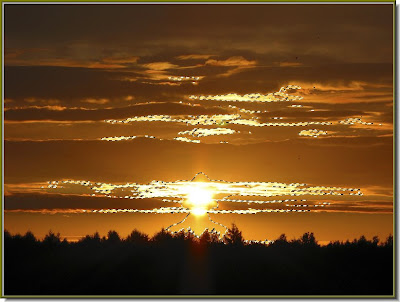
Step 4 : As soon as you click ok the highlights are selected by a column of 'marching ants'.
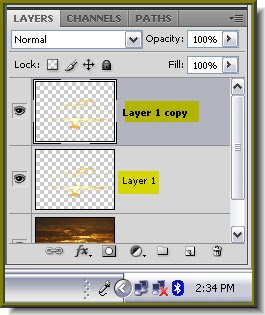
Step 5 : Press CTRL+J twice. This will duplicate the background layer twice -- Layer1 and Layer1 copy.
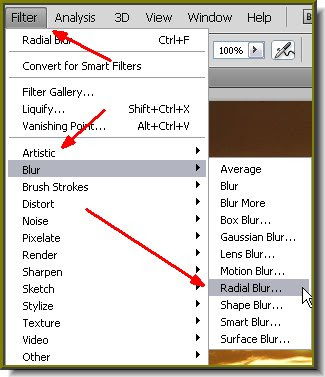
Step 6 : Go to Filter>Blur>Radial Blur.
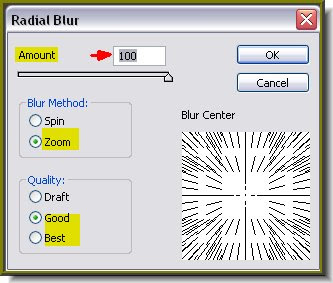
Step 7 : Set the Amount to 100 or the maximum. Select Zoom for the Blur Method and either Good or Best for Quality.
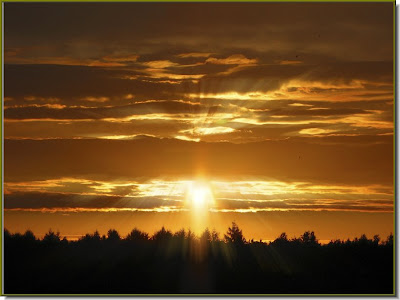
Step 8 : This is the effect you get.
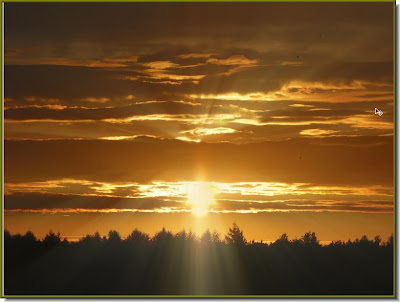
Step 9 : Press CTRL+J a number of times and you will get this effect.
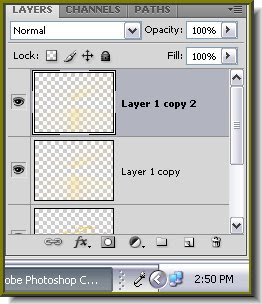
Step 10 : Press CTRL+J. This duplicates Layer 1 copy to Layer1 copy 2.
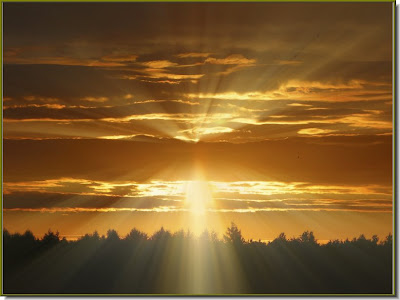
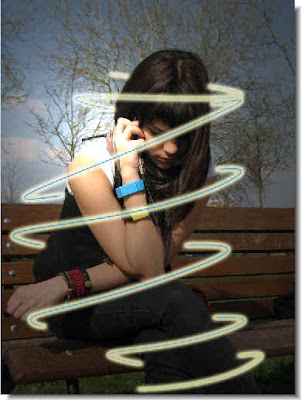
And here is the final effect. That was easy was it not?
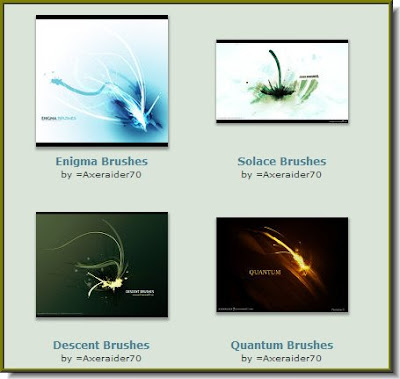
Find other Photoshop tutorials here.