I have posted a tutorials on use of the High Pass filter in Photoshop here. This filter can be used to sharpen images. You can use this filter to correct dull mobile phone pictures and make them crisp. This tutorial is an improvement on the one I posted earlier.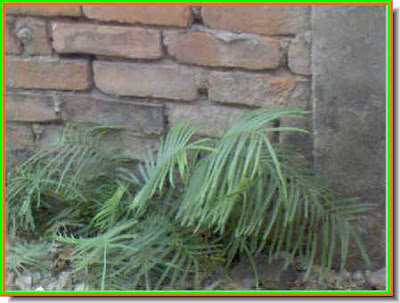
Step 1 : I will use this photo I took with my mobile phone for this tutorial. You can see that the colors are dull and details are not sharp.
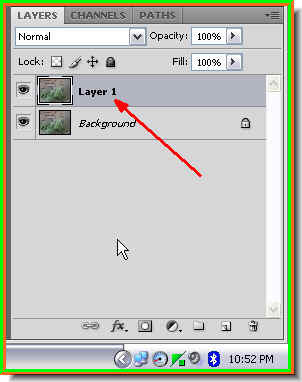 Step 2 : Look in the Layers pallette. There is only a single layer -- Background. Press CTRL+J to duplicate the Background. A new layer -- Layer 1 forms.
Step 3 : Go to Filter>Other>High Pass.
 Step 4 : The High Pass filter dialogue opens. Drag the Radius slider to something really high such as 40 pixels or thereabouts as I have done. Click ok.
 Step 5 : This is how the image looks. Even blurrier than when I started out.
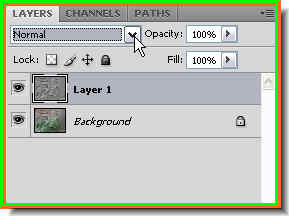 Step 6 : In the Layers pallette click where the arrow points to, to change the Blend Mode.
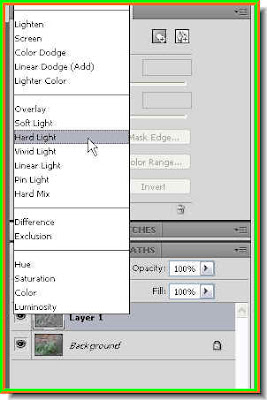 Step 7 : From the popup menu click on Hard Light.
Step 8 : The image looks clearer. Definitely an improvement on the one I started out with.
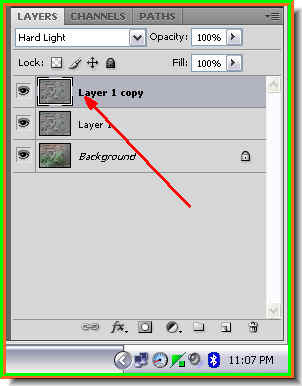
Step 9 : Press CTRL+J on the keyboard again and Layer 1 will be copied into a new layer -- Layer 1 copy.
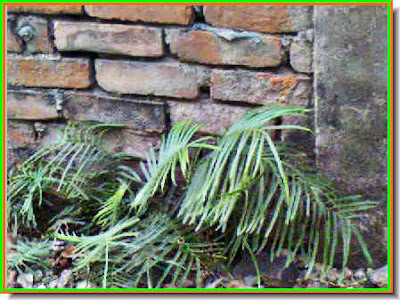
Step 10 : Look at the image now. It looks sharp and bright. That is all there is to it. It can be done in any version of Photoshop.
 This is the free, high resolution stock photo I have downloaded from the link I have given above.
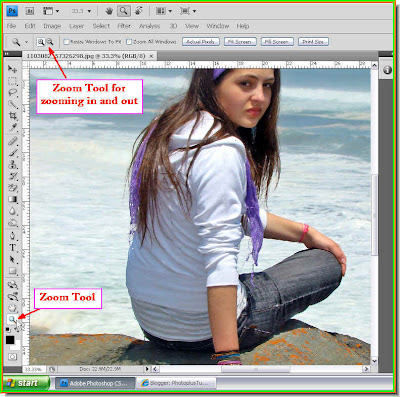


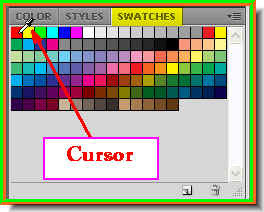
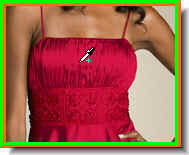
 If you cannot find the Swatches click on Windows at the top and from the dropdown menu click on Swatches to access it. I have clicked on Red from the Swatches.This is an easy way to select a color.
 Step 5 : Note that the Foreground Color changes to the color I have picked.
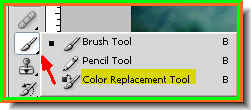
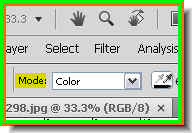
 Step 6 : Now click on the Color Replacement Tool from the flyout.
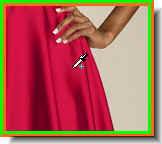
 Step 7 : I have begun painting with the Color Replacement Tool. My background is the same color as the shirt. So I have to be careful. Even checking the Discontguous in Limits will not be a help. If you go wrong press CTRL+Z. This will undo the last step. Or go to Edit>Step backward.
 Step 8 : I am painting the shirt. Change the brush tip from small to big with the [ ] (bracket keys) on the keyboard. The ] (right bracket) is to make the tip bigger and the [ (left bracket) will make it smaller. Vary the brush tip as you paint. Paint in short strokes only.
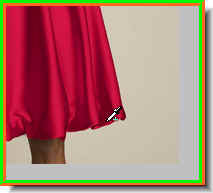
 Step 9 : I have changed the color of the shirt to Red.
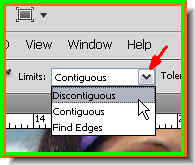
 Step 10 : Now I am changing the Limits to Find Edges.
 Step 11 : I have now changed the color of the head band and scarf to red. That is all there is to it with the Color Replacement Tool. Try it out CS users.
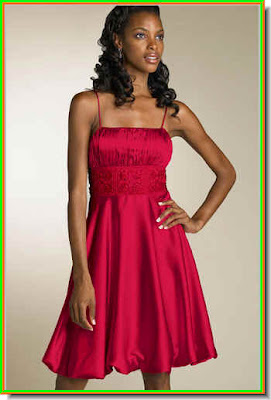
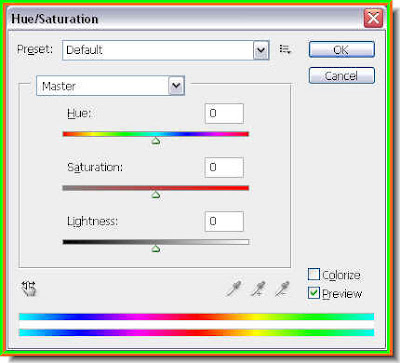 Step 2 : Press CTRL+U. This is a keyboard shortcut to bring up the Hue/Saturation dialogue box. Note that the Preset is set to Default>Master.
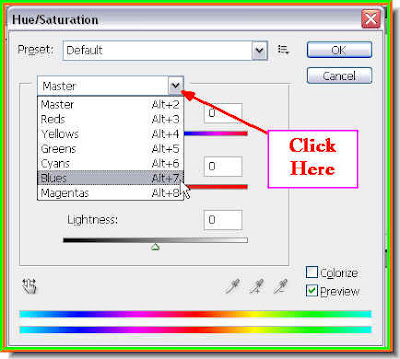 Step 3 : Click where the arrow points to and it will reveal a menu of colors. From the Menu click on any color. Any color you please, except the default Master. I have clicked on Blues. I intend the change the color of the Red dress with Blues. You can do it too with Greens, Yellows, Magentas, Cyans and Greens. They all have nothing to do with the Blue. But we will use it all the same. You can choose any other color you want to.
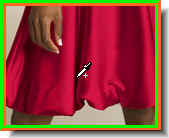
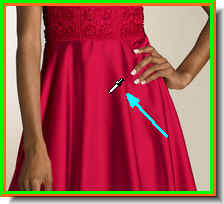 Step 4 : I have clicked on the Red dress. You can click any part of the dress you want to.
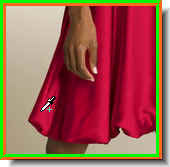
 Step 5 : As soon as you click once the Foreground Ccolor which is Black by default changes to the color you pick. In my case it is a Red. The cursor turns into an eye dropper. Note that there are variations of Red in the play of light and shadow on the dress.


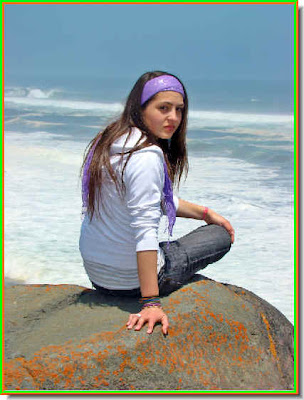
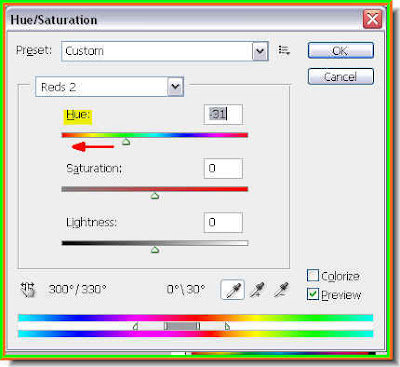 Step 10 : I have moved the slider a wee bit to the left.
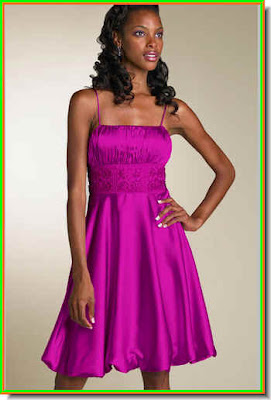 Step 11 : Look at the color of her dress now. It has changed to a bright purple.
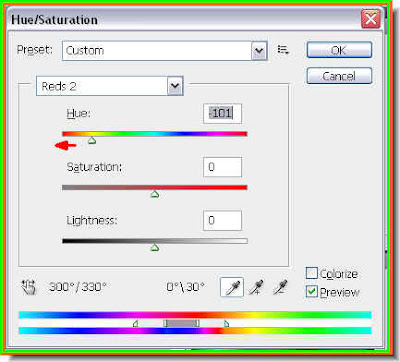 Step 12 : I have moved the Hue slider even further left.
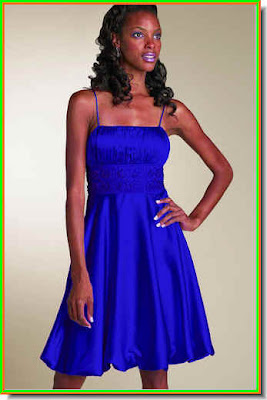
 Step 14 : I have dragged the Hue slider even further left.
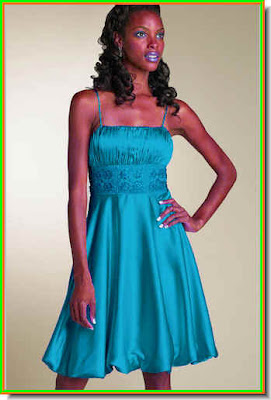 Step 15 : Now her dress has changed to a lighter shade of blue. But note that since she is wearing Red lipstick and mascara, the lips now have a bluish tinge as well above her eyes. You must watch out for this. This tells you it is overdone.
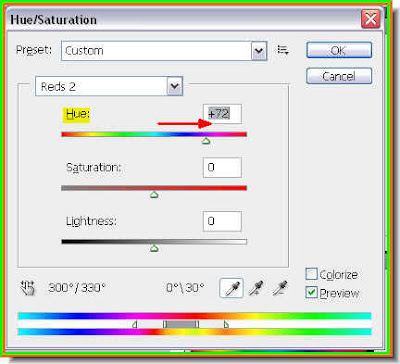 Step 16 : Now I have dragged the Hue slider quite a bit to the right.
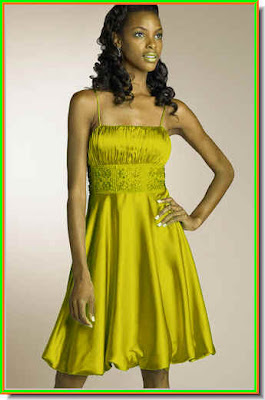 Step 17 : Now her dress has turned to a shade of green. Note that her lips too have turned into the same shade. why this is happening is because I picked only the Reds. When I change the Hue I am affecting all the Red in my image. So you should know when to stop.
 Step 18 : Note there are two more sliders. The Saturation slider increases the saturation to make the color more deeper or lesser. If you move it towards the right it will increase the saturation of the Hue you have chosen and to the left it will decrease it. The Lightness slider affects the light. If you drag the Lightness slider towards the left it becomes darker and lighter if you move it towards the right.
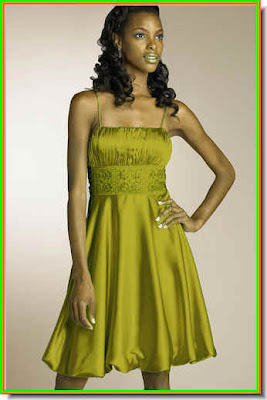 Step 19 : This is the image with the settings in Step 18.
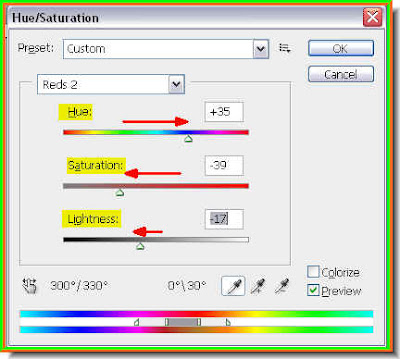 Step 20 : Now I have given thses settings for Hue, Saturation and Lighteness. This is no magic formula, it will depend on your image. First change the Hue, then the Saturation and lastly the Lightness. Drag the sliders gently so you will be able to note the changes. Once you are entirely satisfied with the entire effect, click Ok.